
As promised, I put together the pattern for the crocheted toy bags that I’ve been making lately. This is the first pattern I’ve written, so bear with me and please let me know if you find any errors or if any of the directions are confusing. (more…)
As promised, I put together the pattern for the crocheted toy bags that I’ve been making lately. This is the first pattern I’ve written, so bear with me and please let me know if you find any errors or if any of the directions are confusing. (more…)
Like most households with small children, the toy situation seems to get out of control fast. You somehow go from 0 to 1,000,000 toys in only a few short years! They multiply like a wet Mogwai and next thing you know you are constantly stepping on small sharp things and doing a monthly under-the-couch sweep of wayward balls and anything with wheels. You have entire sections of your home devoted to them and somehow they end up everywhere but there. You get so sick of putting things away that you eventually just get a huge bin that you throw everything into only to have your kid dump it out the minute you put the last toy away. Andrew said that one time he intentionally didn’t pick up after Quil just to see what the house would look like in one day. He said by mid-afternoon, it looked like someone had robbed the place. Drawers out, couch cushions overturned, cabinets open!
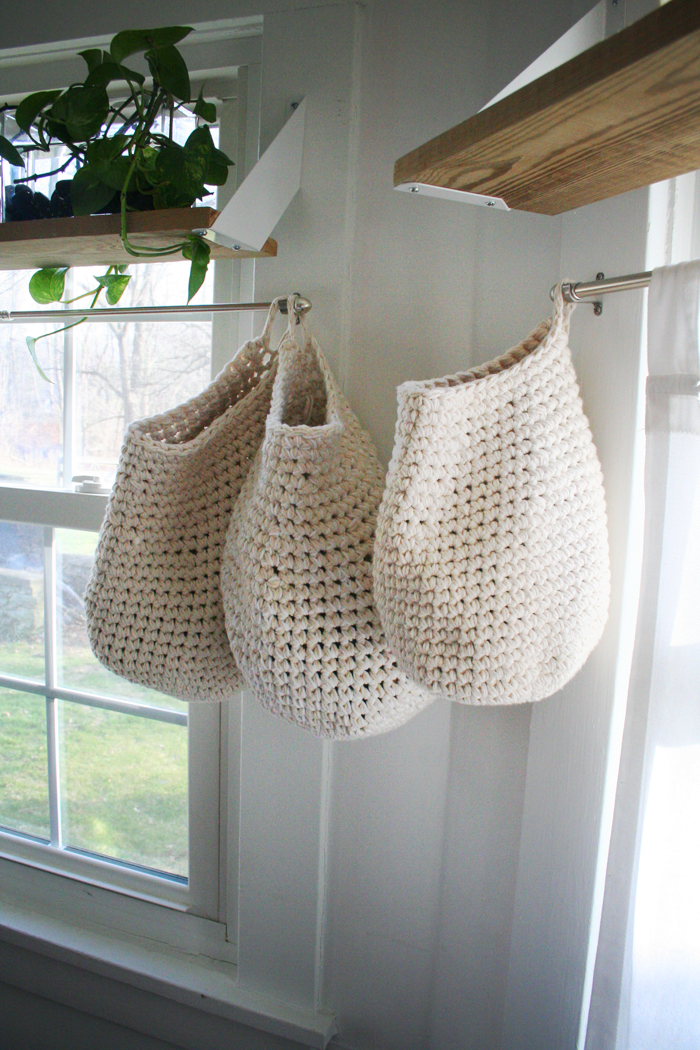
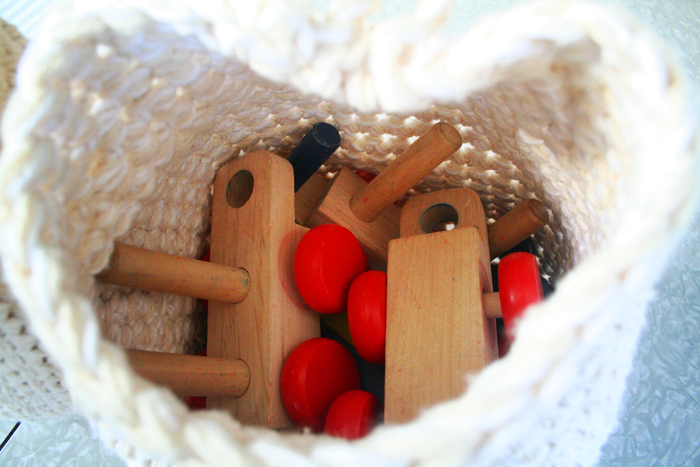
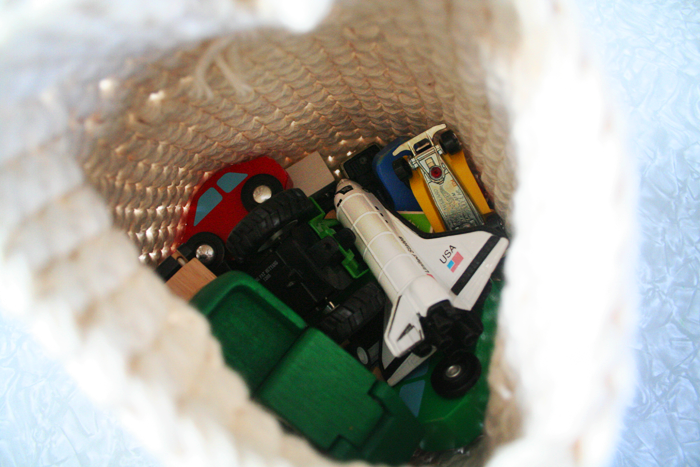
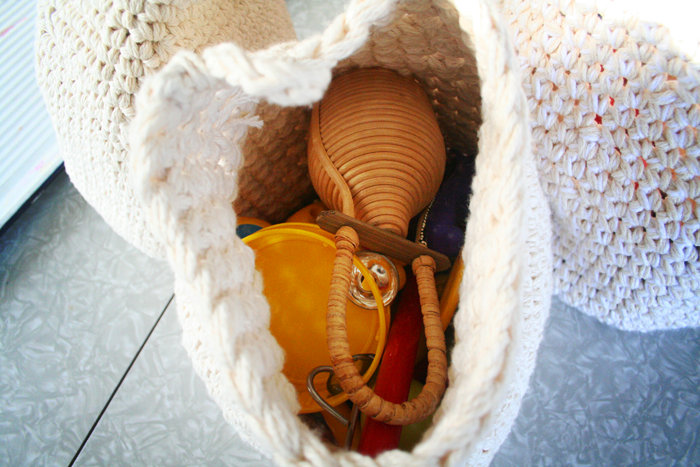
But one thing we learned with Quil is that he is pretty good about putting things away if each type of toy has its own container and not just one catch-all bin. We started off with just cloth bags that you sometimes get when you buy a pair of shoes. But we only had a couple of those. So I decided to start making some crocheted ones. Now he’s got bags for puzzle pieces, train sets, musical instruments, cars, and he can remember which ones go where for the most part.
Don’t get me wrong. His toys still get everywhere, but it does seem more manageable when everything has a designated bin/bag. I still need to make a few more, but these are super easy to make and work up pretty quick since I crochet three strands at once with a large hook. Check back later this week for a pattern if you are interested in making some for yourself.
***UPDATE***
The pattern is now available here.
xo,
c.


While we’re waiting, waiting, waiting for Baby Girl to arrive, I’ve been doing what is normal for anyone who is mega-preggers – taking on huge projects that are made infinitely more difficult by my huge belly and constant body pains. That’s normal, right? Right?!
So, my current obsession and project in the works: crocheted rag rugs! We’ve been in the process of fixing up the kids’ room – which I hope to post about soon – and one of the rugs we have in their room is just too big, in my opinion. So, of course, I decided to make a new one. You know, before the baby comes. Ha!
I was trolling Ravelry (if you are a knitter or crocheter and aren’t on Ravelry, do yourself a favor and check it out now!) and came across this amazing crocheted Calico Rag Rug by Gillian Hamilton which inspired me to give it a shot. I did a little more research and also came across King Soleil which has a whole page dedicated to her process of creating rag rugs and tips and tricks she’s learned through her experience. She mainly uses upcycled materials, which really appeals to me since the amount of material it takes to make one rug can get pricey. I’m thinking a thrift store run is in order!
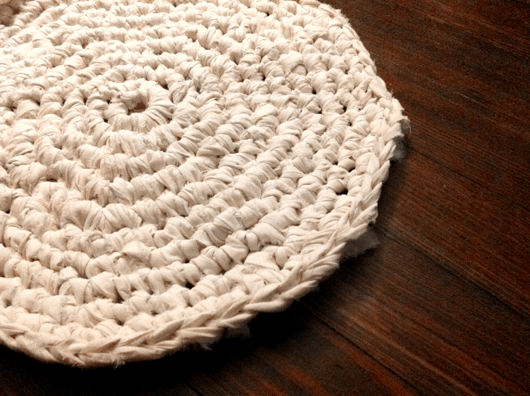
However, this current one that I’m working on (pictured above) is made from muslin that I purchased at the local fabric store. Basically all you have to do is find any sort of woven material you want, cut it into long strips and start crocheting in a circle and, Voila! you have a rug!
So far my rug is about 2 feet in diameter and there are few things I’ve learned:
l. Crocheting on a large scale is a workout. Think less wrist movement and more entire arm movement. Multiple times I’ve had to ask Andrew, “Is it hot in here?” Nope, just doing my crochet workout.
2. Working with such large pieces of fabric yarn requires the largest crochet hook I’ve ever seen. It’s obscenely large and slightly embarrassing. The hook I’m using for this particular rug is a 15mm – Q hook.
3. I’m a pretty experienced crocheter and I still had some problems with the rug getting wonky and wavy. I’m still not exactly sure why this was happening but with some minor adjusting I was able to straighten it out and it seems to be back on track.
I will post more pictures when the rug is done, which hopefully will be sooner than later.
-c.
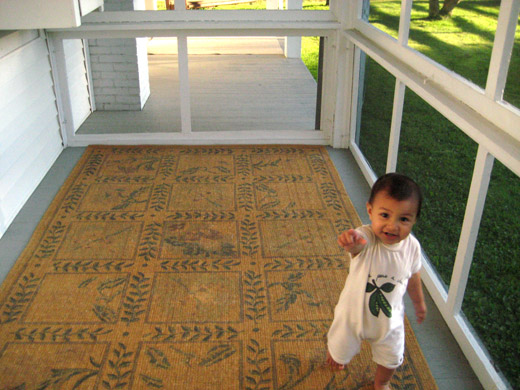
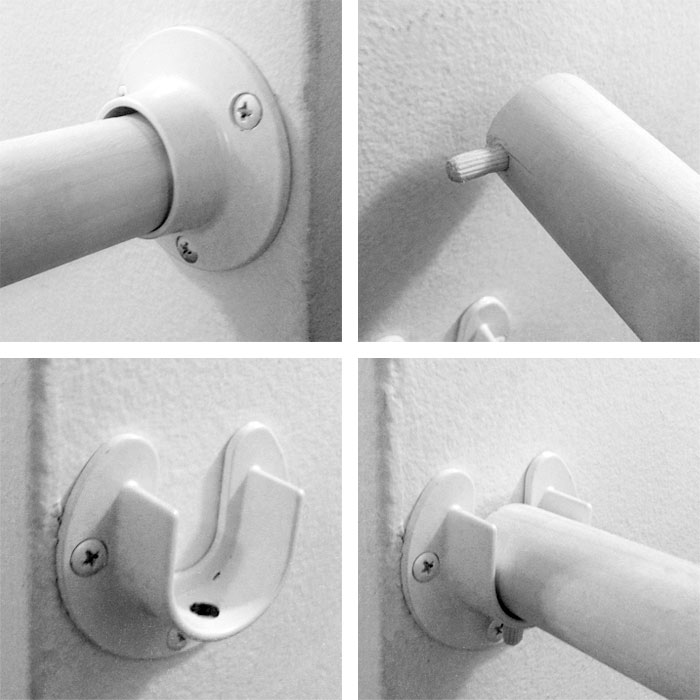
We recently cleaned off our side porch (finally!) because it was starting to look like Sanford & Son out there. During the cold season it sort of becomes a catch all for anything we can’t figure out what to do with. Recycling getting out of control? Throw it on the porch! Old busted laptop taking up space? Throw it on the porch! And it doesn’t help that you can see all this junk from the street! Ugh, what must the neighbors think? I’m sure they could care less, actually.
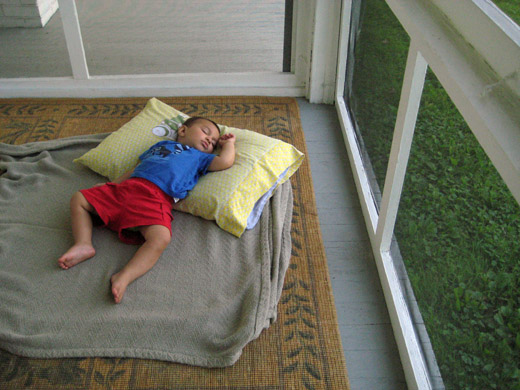
Baby boy is an outdoor baby and being outside soothes him. We decided to make a little haven for him to play and hang out. We swept and sprayed and scrubbed then put down an outdoor rug to cozy it up a bit. He loves it! Now we just need to get some compact space saving furniture (it’s only about 6 feet wide) and we can hang out there all summer long. I went looking for porch inspiration and found some real winners. Seriously. Our porch is not nearly as big and spacious as any of these, but a girl can dream right?


Porch images via Remodalista, Coastal Living, & Pintrest
How awesome is that porch swing/bed thing? I would love that, but I would be scared of spiders spinning webs under the pillows and blankets and such. And I just imagine it would feel… damp, no? Spiders in your damp porch bed = when reality meets fantasy.
-c.
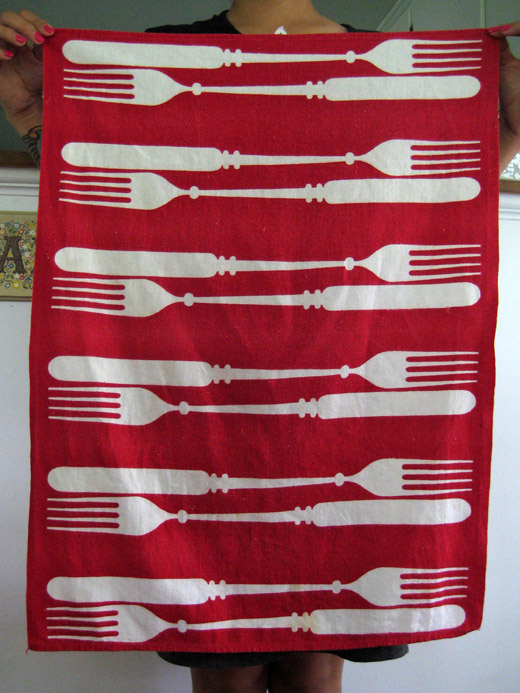
How awesome is this vintage Martex tea towel?
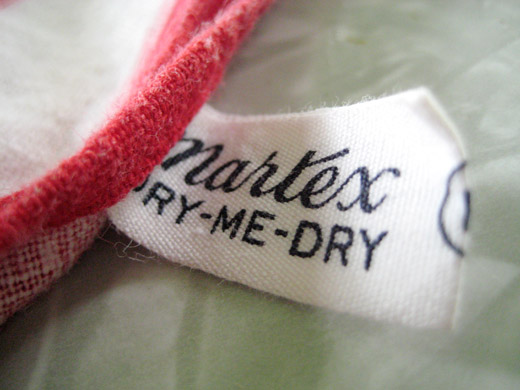
Weirdest name for a line of towels: Dry-me-Dry. “Dry” as a verb, followed by “Dry” as an adjective. Or am I reading into that all wrong? Anyway, I found it at a local antique shop called This N That for a few dollars. Usually this place is hit or miss and last time we were there the air was heavy with scented candles. So much so that it gave me a headache and made me feel like the inside of my nose and mouth was coated with candle wax.
I did a quick google search of vintage Martex tea towels and there are a few people selling this exact one on etsy in a variety of colors (and prices… $45.99 yikes!)
-c.
I’ve missed you guys! Things have started heating up around here (literally) but it’s still raining. Work has been getting busy busy and I haven’t been able to take photos of things I’ve been wanting to share. This weekend I was able to sneak in a mini-photo shoot while Q was napping of these cool porcelain glove molds (I got two!) that I found at the thrift store where we got our china cabinet/hutch thing-y.
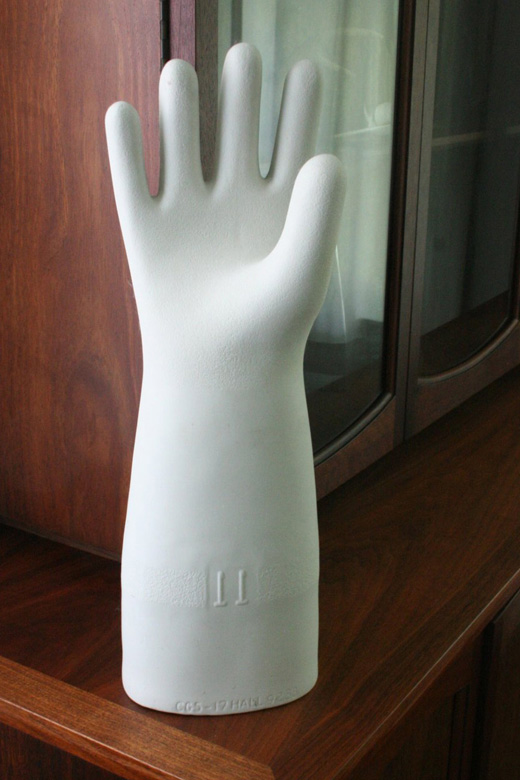
They seem to be a hot thing on the second hand market these days. A little while back I found one at an antique store for $50 ding-dang bucks! I got both of these ones for a little over $20. I like me some vintage things, but only if the price is right.
I’ve been looking for a way to store my ever growing collection of necklaces and these seem to fit the bill. They sort of look like Homer Simpson hands but I like them!
-c.
Everyone knows that the Midwest is where awesome vintage goods are just hiding out waiting to be discovered by some big city folks looking for a diamond in the proverbial rough. Well, the Medina Antique Mall is one such place. Also known as AntiqueLandUSA, it’s so chock full of old shit it will make your head spin. Most of the inventory is stuff that I don’t have too much interest in, like ratty porcelain dolls with scary eyes, old baseball cards, and Victorian furniture. I mean, some of the stuff is really beautiful, just not my style.
However, we took a little trip there a couple weekends ago and found some real gems. There was one dude who had a booth full of mid-century Danish modern goods, hell yeah! As well as a few other choice pieces scattered here and there.
One draw back of this place (other than the fact that it’s super huge and overwhelming) is the fact that it’s mostly out of my price range. At this point in my life, I just can’t afford to spend $600 on a single side chair. No matter how awesomely designer-y cool it is. But it doesn’t cost anything to browse!
I didn’t bring my camera to the Antique Mall so I will resort to found images on the interweb. Here are just a sampling of the cool things I found:
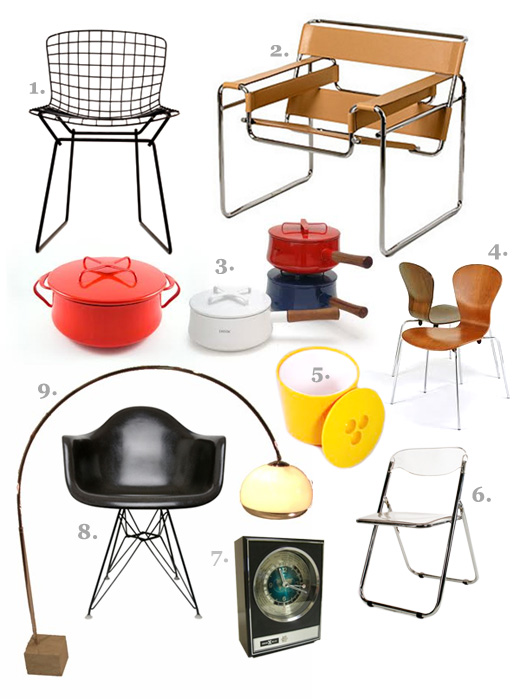
1. Bertoia Side Chair by Harry Bertoia
2. Wassily Chair by Marcel Breur
3. Dansk Kobenstyle Cookware
4. Sprite Stacking Chair by Ross Lovegrove
5. Crayonne for Habitat Ice Bucket
6. Lucite Folding Chair
7. World Time Mantle Clock by Howard Miller
8. Herman Miller Eames Shell Chair
9. Italian Guzzini Arco Style Floor Lamp
Not all these items would be at home in our house, but I still enjoy them nonetheless, though Andrew wasn’t too keen on some of the things I pointed out. A couple times Andrew referred to the furniture as “looking like it belonged in Akeem’s Apartment”. For those of you who forgot the movie “Coming to America” let me jog your memory:
God, I wish that image was bigger. But don’t worry, our house looks NOTHING like that.
-c.
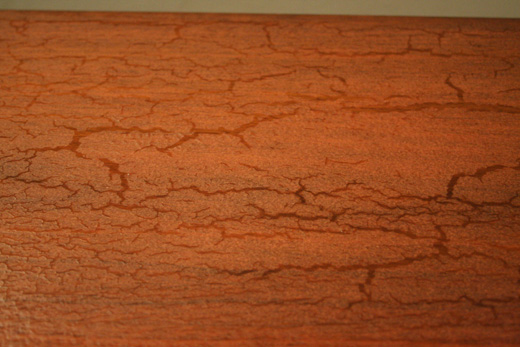
This weekend we finally completed the next step in Project Clean-Up-This-Old-China-Cabinet. In the first phase, we cleaned all the grime only to realize that the top would need to be stripped because the grime had pretty much damaged the finish. Phase 2 consisted of Citri-Strip, which looked like this while it worked its magic:
Followed by removal of the loosened old varnish with plastic scraper and lots of this nastiness:
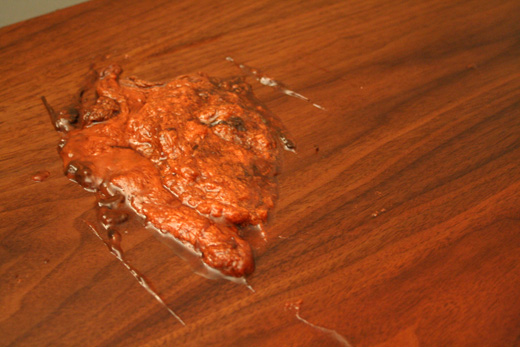
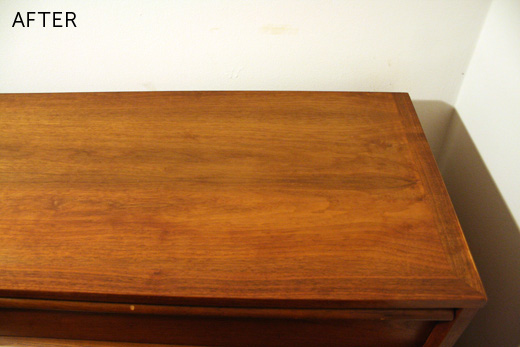
Disgusting! So after that, we let it hang out for a bit, then the next day we gave it a cleaning with Mineral Spirits, a little sanding with extra fine sandpaper, another wipe, then a couple coats of Teak Oil. Voila! A long ways away from this mess.
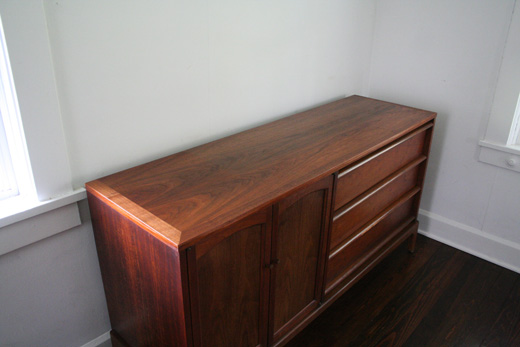
Andrew decided that it needs a coat of shellac because as beautiful as the teak finish is, it isn’t as shiny as the rest of the piece so it doesn’t quite match. I trust his judgement. So! One to Phase 3! Hopefully, Phase 4 will be the phase where I fill it with all my junk!
-c.
You may remember my post about my early Mother’s Day mid-century modern china cabinet present? That was a really confusing sentence. But come on people, it was just last week. Anyway.
This thing is beautiful but very dirty. I’m sure it’s just an accumlation of years of dust that has congealed into a nasty black grime. But part of me thinks it could be that someone never learned to wash their hands after handling crude oil OR Andrew’s hypothesis: A smoker with a china cabinet next to their stove where they fried fish all day. Whichever way you swing it, this thing has some serious build up issues.
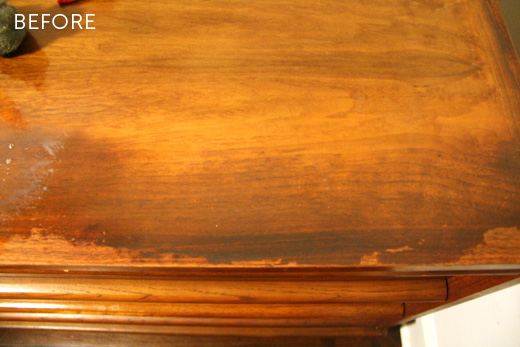
Murphy’s Oil Soap to the rescue! Thanks to Morgan’s post on Refreshing Vintage Wood, we had an idea of how to start dealing with this mess. As you can see from the before and after pictures, we got a lot of the nastiness off but next step is the strip the top of the old finish. Everywhere else on the piece is fine, but the top could use a sand and a finish with some Danish Oil.
I can’t wait to just GET IT DONE so I can start filling it with all my junk!
-c.