Homemade Gifts 2013: Embroidered Kid Art
We love encouraging our kids to be creative, especially when it comes to gifts. They are still so young so many of these gifts are collaborations between parents and kids, which I love! One day, they won’t need my help. But I’m hoping they will still want it!
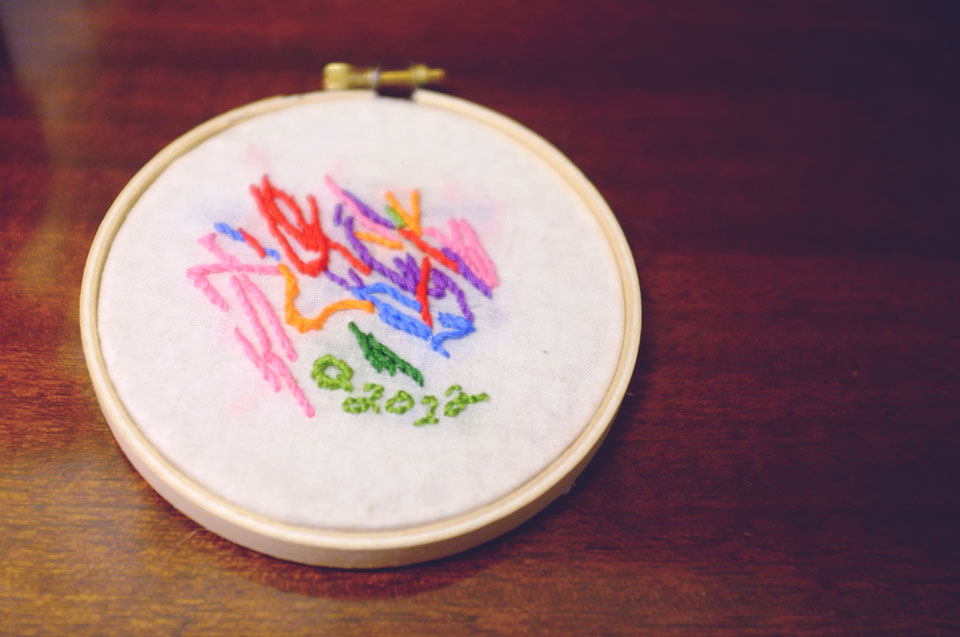
Quil draws or paints almost every day, so we always have a ton of paper with drawing and marks on them. So, I decided to take it up a notch and create something special together by helping him turn a drawing into an embroidered piece of art. The picture above is what we made for Quil’s Grammy last Christmas. Excuse the terrible embroidered text on there that is supposed to say “Q 2012” but looks more like “2022” ha!
Mind you, this is not a completely novel idea. Just search “Embroidered Kid Art” on Google and you will come up with endless posts. A lot of them involve transferring from paper to fabric, but I just had Quil draw directly onto the fabric. Maybe if your kid is older and makes really detailed and clearly representational images, it would be best to start with paper so they have more control, but Quil is still in the scribble phase, so directly on the fabric works for us. Or if you have an image they already created and love and think is worthy of saving in embroidered form, transfer is obviously the way to go.
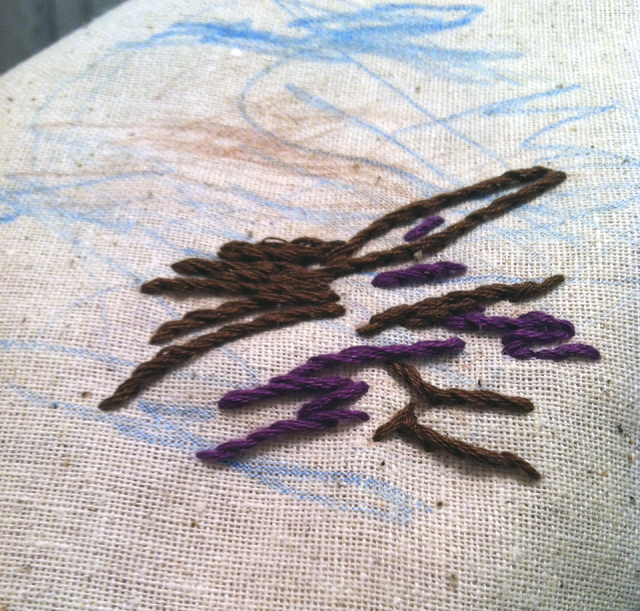
Color, line and shape were the things I followed when embroidering over his marks. It’s a simple concept, but we learned a thing or two after our first try.
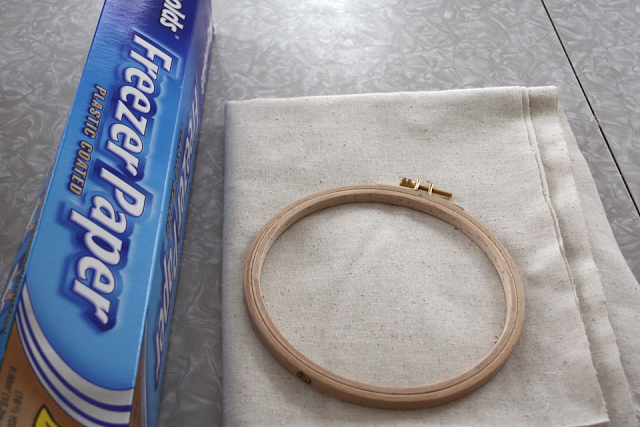
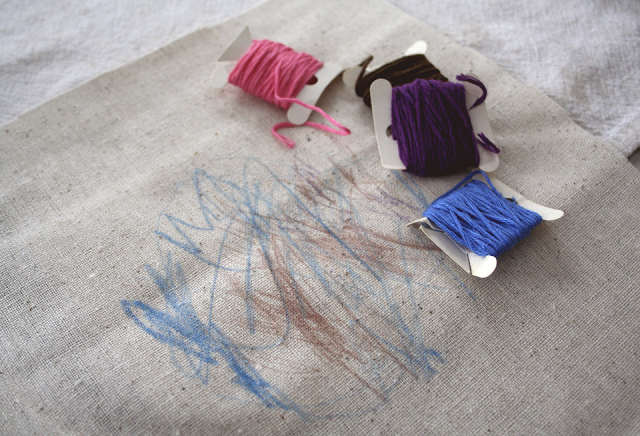
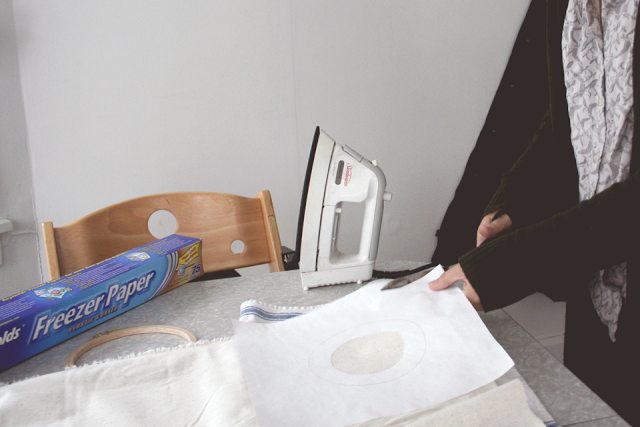
Here are some basic supplies you’ll need to get started: Freezer paper, fabric and an embroidery hoop.
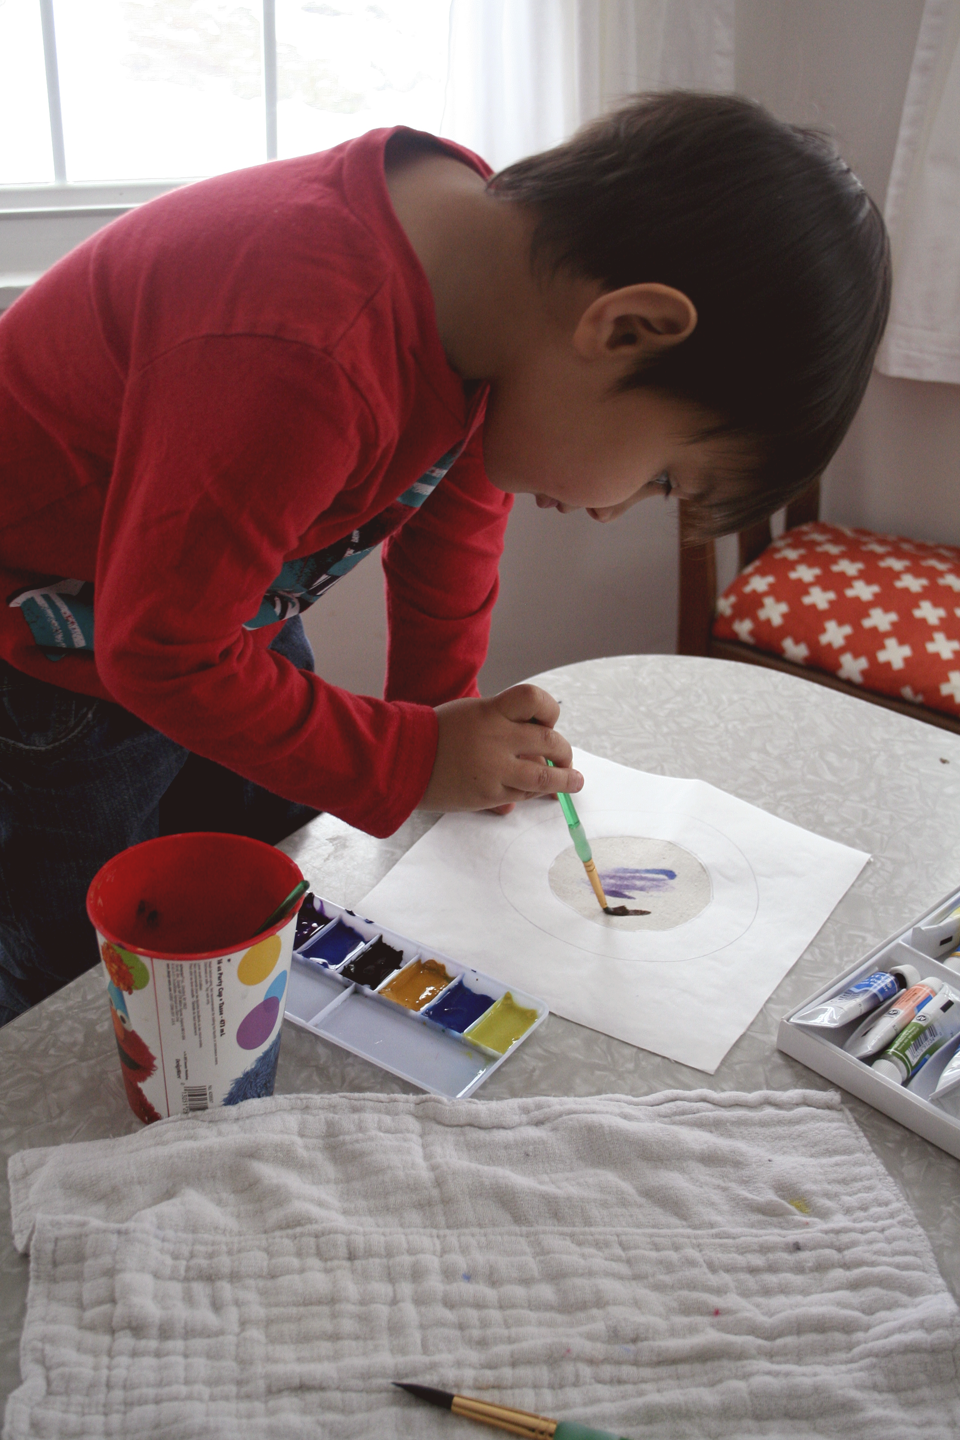
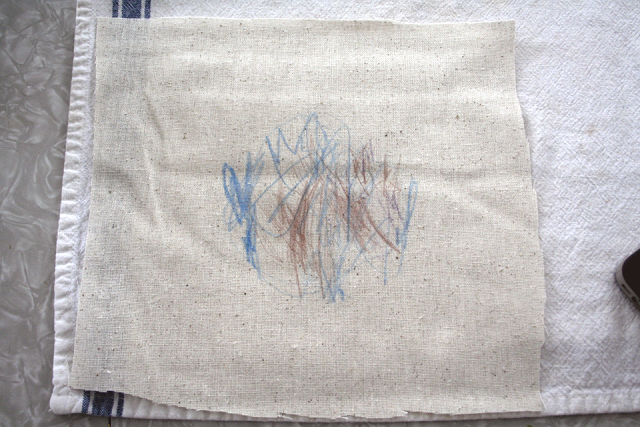
Depending on how much you want their artwork to shine through, they can use whatever medium to make their mark. Colored pencils work well if you want more focus on the embroidery. Though there will be some interpretation on your part if there is a lot of scribbling involved, which is okay because it’s a collaboration. Or do a mixed media where they use fabric marker or paint and you combine the embroidery into the piece.
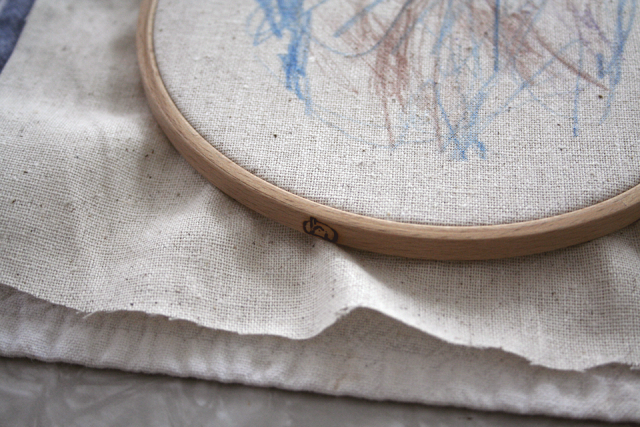
Use a more opaque fabric. Last year we just used some extra muslin that we had lying around and the excess strings from the knots showed through more than I liked. This year we got Osnaburg and it’s amazingly beautiful against the embroidery.
I used a 6-strand embroidery floss and stem stitch because it’s a little more fancy than just a running or back stitch, but still not overly complicated or difficult. It covers well and makes for a denser line too.
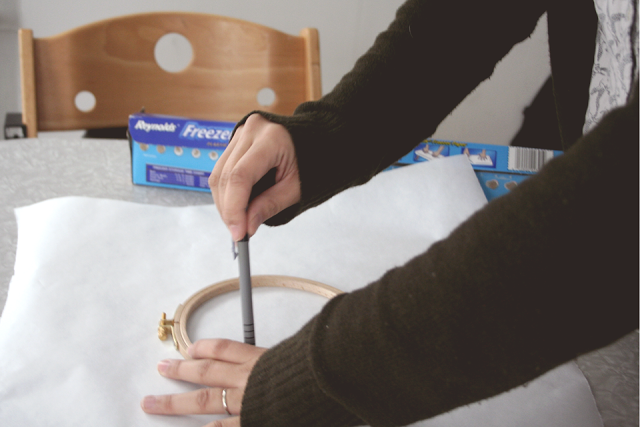
To keep the drawing contained to a specific area for easier framing (we just kept our final piece in the embroidery hoop) and for a smaller piece that won’t take as long to embroider, make a Freezer Paper stencil beforehand of the shape you want it contained to. We just did a circle and it worked out great. We cut the circle out, ironed it to the fabric and let him go at it, encouraging him to stay within the circle but no problem if he didn’t. This might be something fun to experiment with. Here are images Quil took of me making the paper stencil.
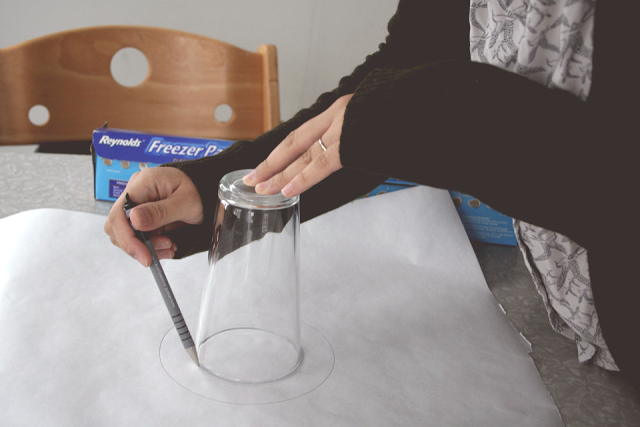
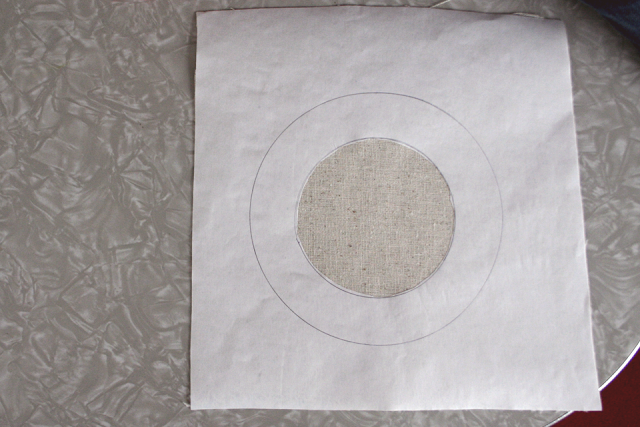
Step 1: Trace the inside of the embroidery hoop to get an idea of the borders as a whole. I then created a circle within that border as the actual boundary for the artwork. This could be any shape you choose.
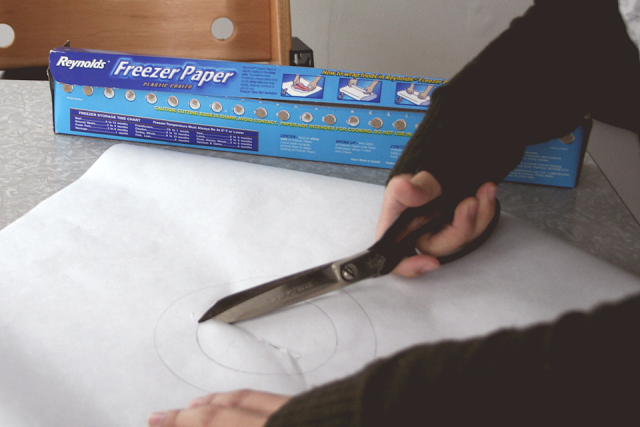
Step 2: Cut out the inner circle.
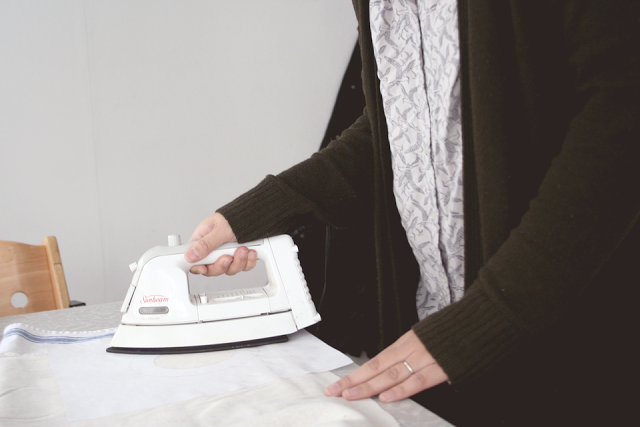
Step 3: With the shiny side down, lightly iron the stencil onto your fabric. The plastic coating on the back will temporarily adhere the paper to the fabric.
Step 4: Trim down to size. You now have a stencil covering the areas you want to keep clear and gives your kid a designated area to create.
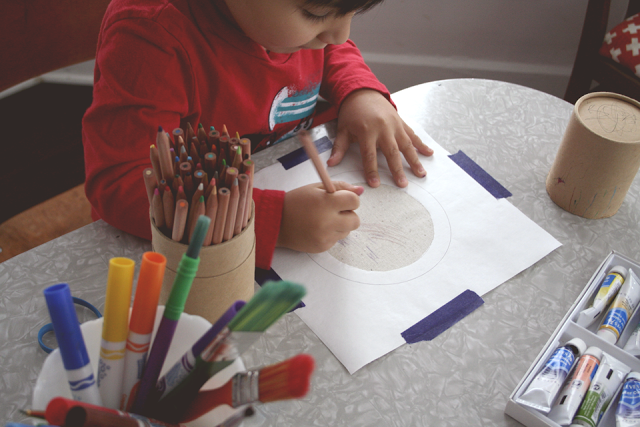
It’s a good idea to tape down the fabric and stencil so it doesn’t move around as they work, especially if they are drawing with colored pencils or anything that might tug more on fabric. After they are done, peel off the stencil and put it in to your embroidery hoop.
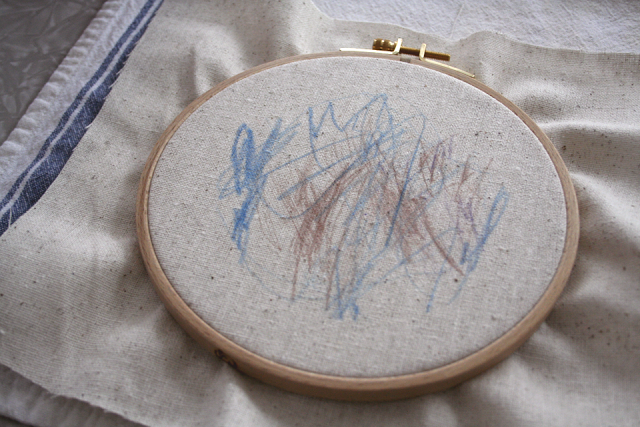
I’m sure you might be thinking that this just looks like a bunch of scribbles. But come on parents, how many pieces of paper do you have with your kids scribbles on them that you cherish? One day, I’m sure I will love working on ones that have more imagery, but there is something about capturing those moments where his marks are still pure expression.
This year, Quil also made one where he painted directly on the fabric and I added my own touch with the embroidery. I can’t reveal it all because it’s a gift for someone who might be reading this blog :) I will show the final piece after the holiday.
Homemade Holiday 2013
Crocheted Pinafore
Kid Leg Warmers
And as always, if you give these projects a try, I’d love to see what you make!
xo,
c.
Leave a Reply