Crystal Madrilejos

Design & Creative

embroideredart2012

We love encouraging our kids to be creative, especially when it comes to gifts. They are still so young so many of these gifts are collaborations between parents and kids, which I love! One day, they won’t need my help. But I’m hoping they will still want it!

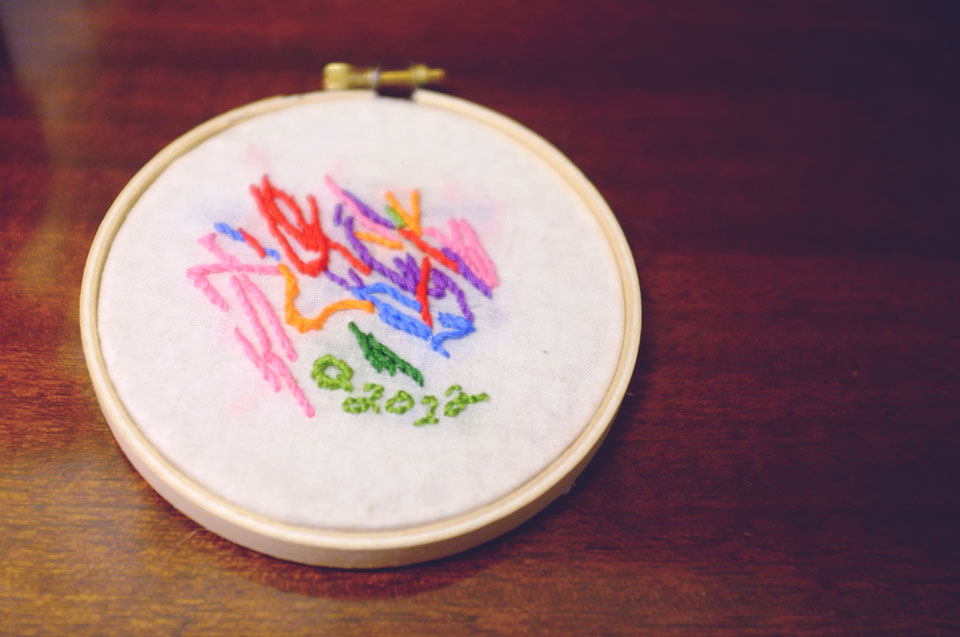
Quil draws or paints almost every day, so we always have a ton of paper with drawing and marks on them. So, I decided to take it up a notch and create something special together by helping him turn a drawing into an embroidered piece of art. The picture above is what we made for Quil’s Grammy last Christmas. Excuse the terrible embroidered text on there that is supposed to say “Q 2012” but looks more like “2022” ha!

Mind you, this is not a completely novel idea. Just search “Embroidered Kid Art” on Google and you will come up with endless posts. A lot of them involve transferring from paper to fabric, but I just had Quil draw directly onto the fabric. Maybe if your kid is older and makes really detailed and clearly representational images, it would be best to start with paper so they have more control, but Quil is still in the scribble phase, so directly on the fabric works for us. Or if you have an image they already created and love and think is worthy of saving in embroidered form, transfer is obviously the way to go.

Color, line and shape were the things I followed when embroidering over his marks. It’s a simple concept, but we learned a thing or two after our first try. (more…)
If you have lots of little humans in your life, legwarmers are great gifts that work up quick, and are fun and unique. When I first started knitting and crocheting, like most beginners, I didn’t work much outside the realm of scarves. They are simple and easy, but there are only so many winter scarves a person needs. However, legwarmers are a little out of the ordinary unless you are a dancer. And there are so many different ways styles and patterns you can make, but they still look cool and work well when they are really simple.

(more…)

Ever since the babies started arriving in our family almost 13 years ago, Andrew and I have been hand-making gifts for the holiday. It’s something we enjoy doing because we like to be able to make things that are really personal and specific to their personality and interest. But also, we like that it’s not something that they can go out and buy themselves. In the coming weeks, I’m going to highlight some projects we’ve made in the past in case you want to give them a try yourself. (more…)

I’m a working Mama. I’m also nursing a 5-month old baby, so that means I have to pump while at work. When I went back to work in November after my maternity leave, my co-workers gave me a potted Amaryllis bulb as a “Welcome Back” gift. Turns out, this is the PERFECT gift for a pumping Mama!

Pumping isn’t the most glamorous or the most fun thing to do with one’s time. It’s a lot of just sitting there (thank goodness for smart phones and this bra.) And you look and feel like a milking machine with tubes and bottles and plastic breast shields. It’s quite a sight.

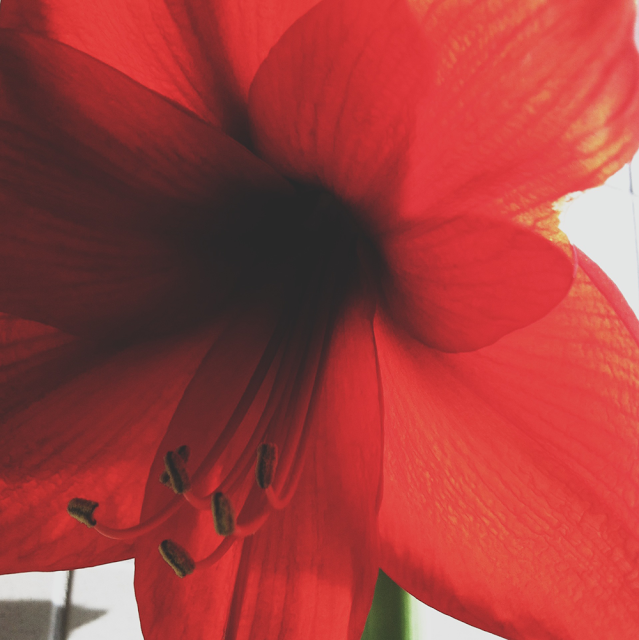
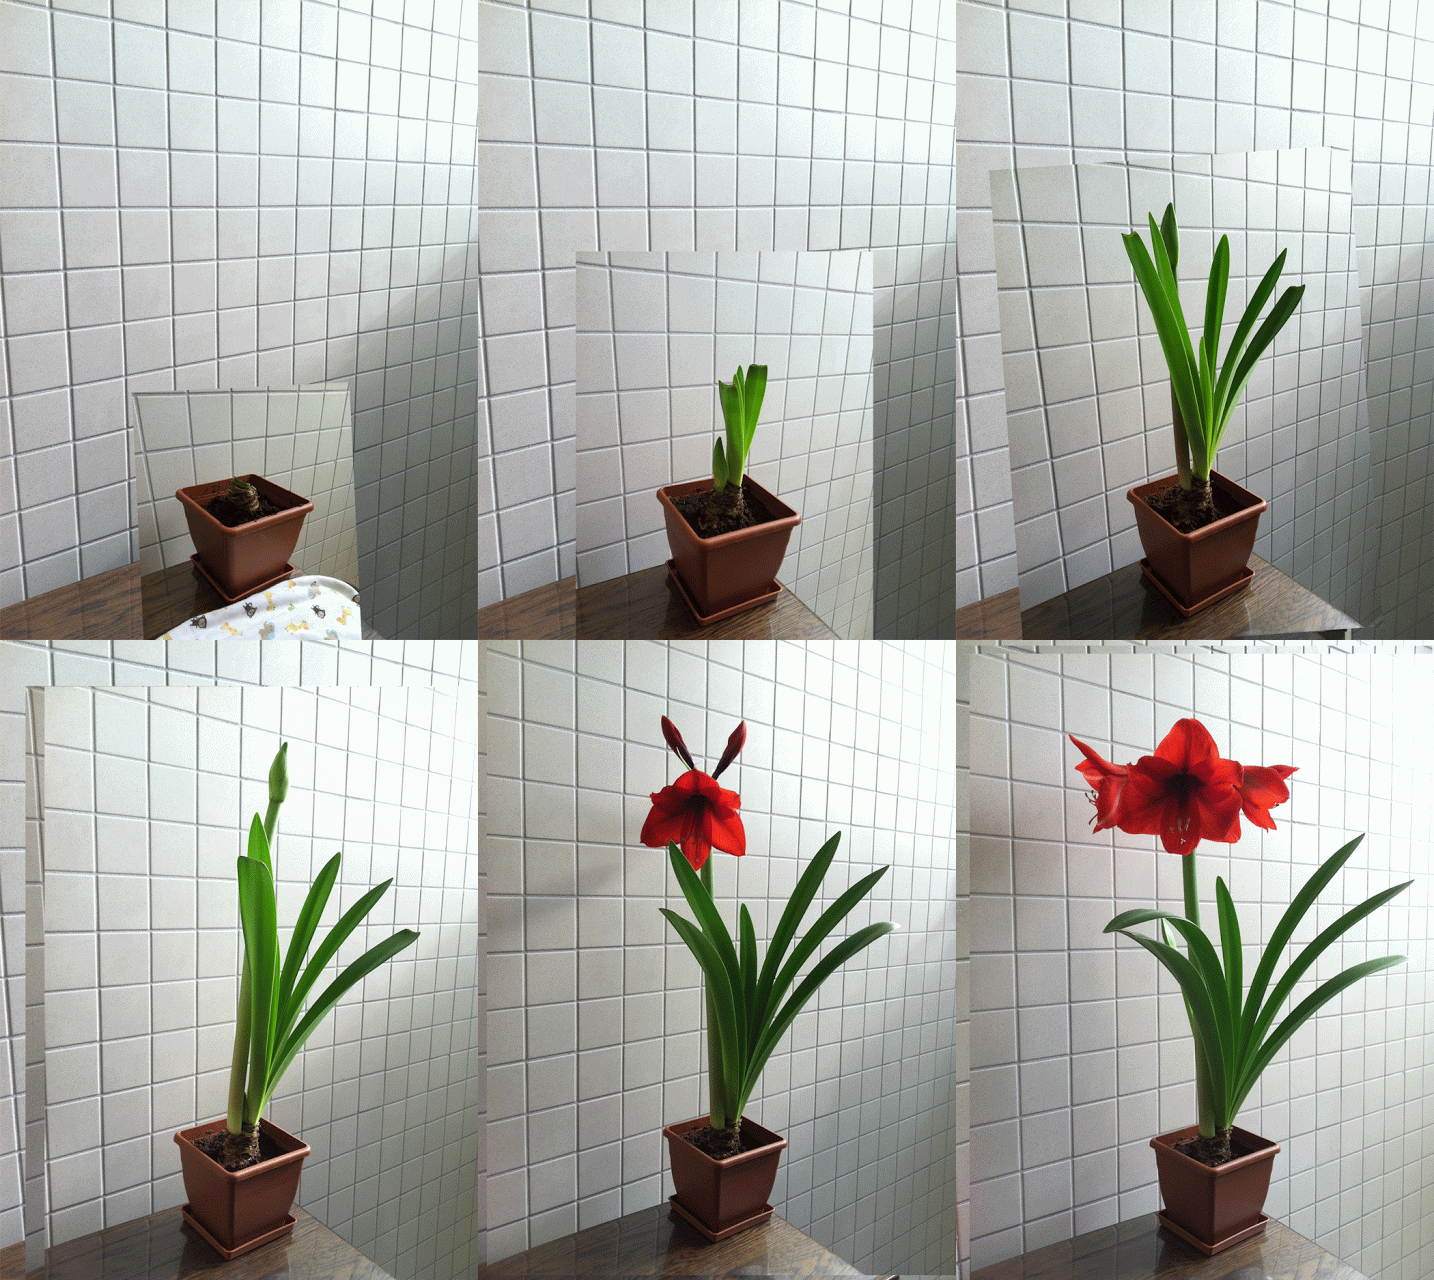
However, I’m fortunate to at least have a pumping room at my office with a lot of natural light. When they gave me this potted Amaryllis bulb I decided, rather than put it at my desk, I’d put it in my pumping room. These past two months I’ve been back at work I’ve been able to watch my plant grow and it’s been absolutely fascinating, calming, and peaceful. Since Amaryllis are very fast growing it gives me something to look forward to every time I have to pump. This week, it bloomed (as you can see in the photo above.) Here is a rough time-lapse from the past two months:

This could be a great gift for a non-working Mama as well. It’s easy to care for and has a big impact when it blooms.

Any working Mama’s out there who pump during their workday? How do you pass your time while pumping?

xo,
c.

Looking for the perfect gift for the little kids in your life? I think we may have figured it out.

There are lots of nieces and nephews in our family, so this means lots of birthdays and lots of present-giving. Andrew and I try our best to come up with original fun ideas for gifts for the little ones and this idea that Andrew came up with really takes the cake, in my opinion!

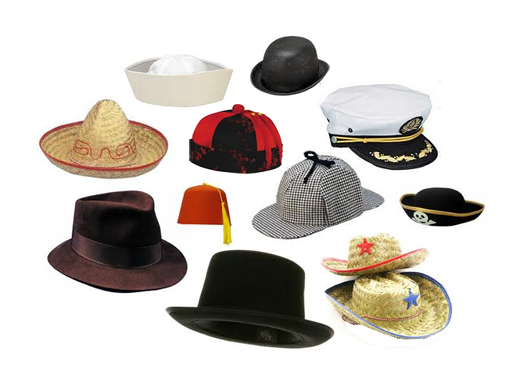
Introducing the “Box O’ Hats!” This was inspired by our niece Layla, who loves to play dress up, like most kids her age, and who received the Box O’ Hats for her 2nd birthday. So, you may be asking, where the heck does one buy such a multitude of crazy hats without breaking the bank? Party stores, my friends, party stores! Our local Party Station carried all the hats (pictured above) we could possibly need for a reasonable price. I think we spent about $25 (though you could potentially spend more or less depending on how many hats you choose and what styles). What’s better than pulling hat after hat out of a giant box? Not much!

If anyone goes the Box O’ Hats route, I’d love to hear how the little ones liked it. I’m thinking that the novelty of this gift probably wouldn’t work on kids much older than 6 years old, but I could be wrong? What do you think? Would an older kid like something like this too?

-c.

I figured I’d post about a couple Christmas gifts I made this past year. This weather is crazy. But I guess I shouldn’t expect anything different since it’s Ohio and we go through this every year.

I realize Christmas is long over. Maybe next year I will post in a more timely manner. But I won’t hold my breath. Anyways! On to gifts!

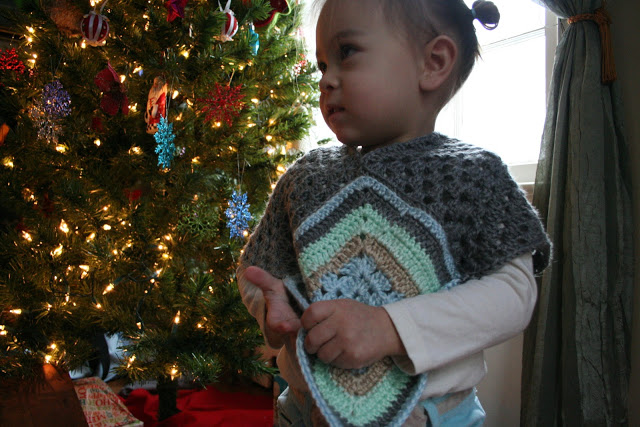
Many many years ago, a friend and I started crocheting together and we went through a phase of making granny squares. Our grand plan was to make a ton of squares, and through our combined effort, a blanket of granny squares for each of us. Long story short, this didn’t happen and all these years I’ve been holding onto these squares. Until this past Christmas when I found the perfect use! Little ponchos!!!

Those little ladies are two of my nieces. They are both around 2 years old and the ponchos fit great! Basically, I took 4 granny squares and sewed them edge to edge. They were super simple to make. Look for a tutorial to this little poncho in the near future!

-c.

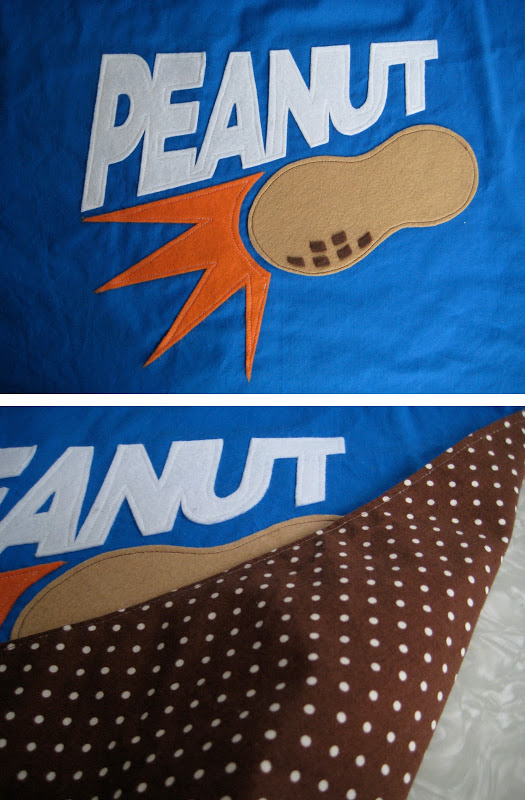
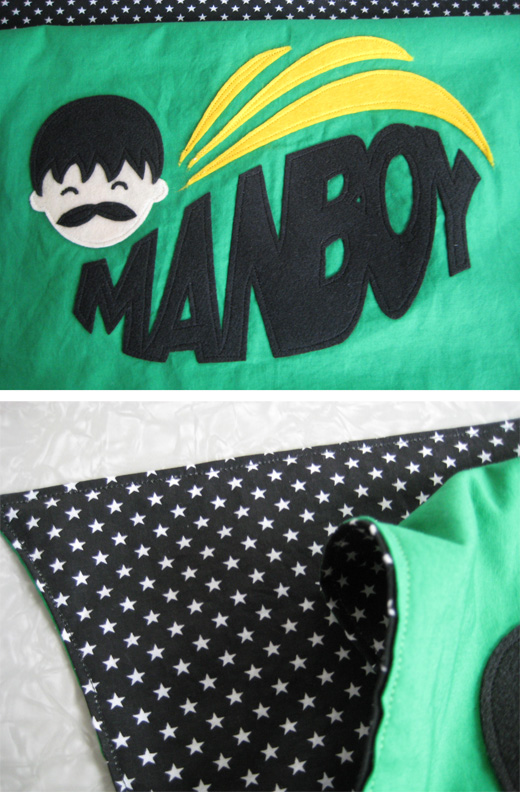
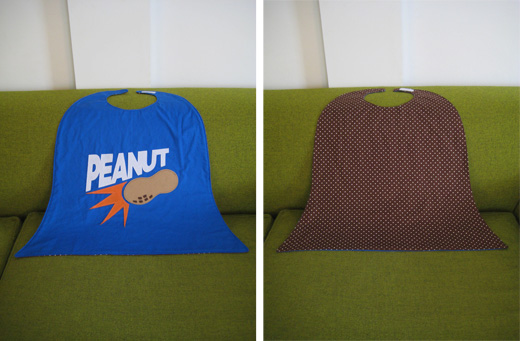
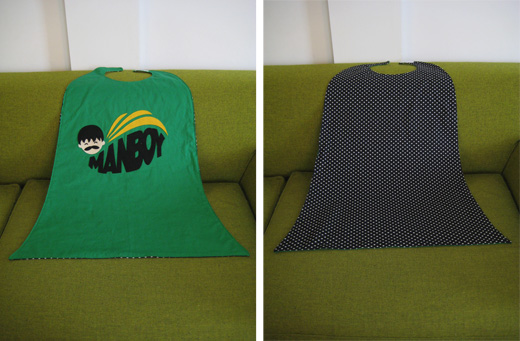
My 5-year old nephew Falcon and my 2-year old niece Arwen are both obsessed with superheroes. So this Christmas I decided to make them their own superhero capes. My brother-in-law has nicknames for them; Falcon is Manboy and Arwen is Peanut. Turns out that these nicknames also work out to be pretty appropriate superhero names too!

I came up with a logo for each of them. Peanut was pretty simple and straight forward, but Manboy was a little more of a challenge. In the end, I think they both worked out well. I designed them on the computer then printed the patterns onto Heat n Bond Iron-on Adhesive paper. I ironed the pattern onto pieces of felt, cut them out, adhered them to the cape, then sewed around them for reinforcement.


I looked around online for some cape pattern ideas and ended up with a fusion between this blog post and this pattern. I’m no expert seamstress so I was delightfully surprised when they turned out better than I expected.


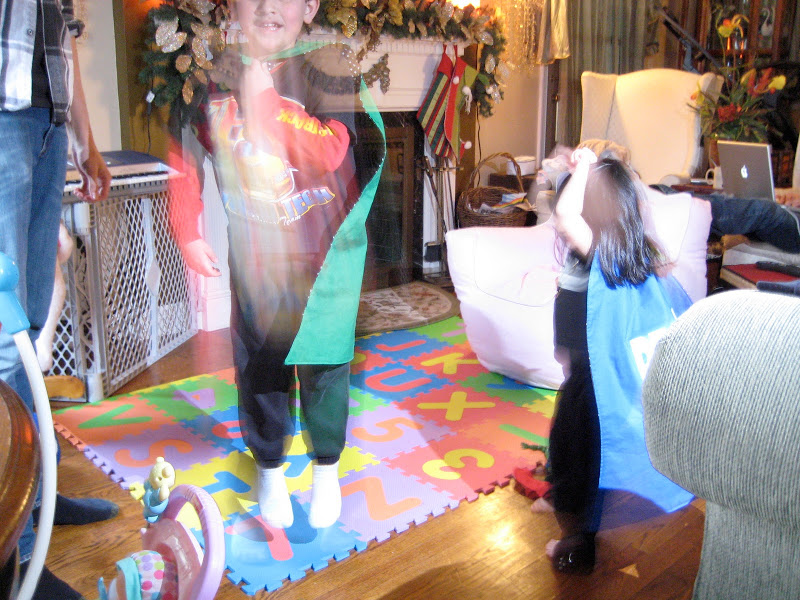
Here is a strange action shot of the two of them with the capes on:

–c.

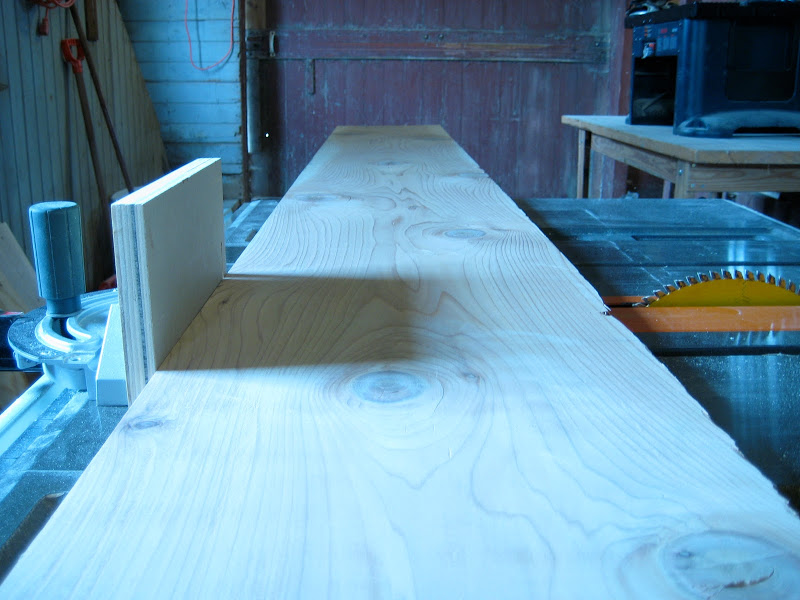
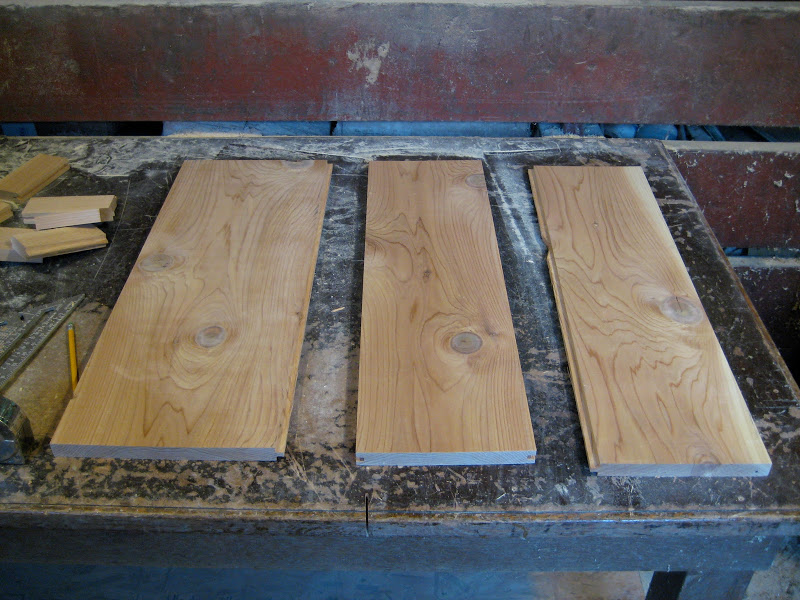
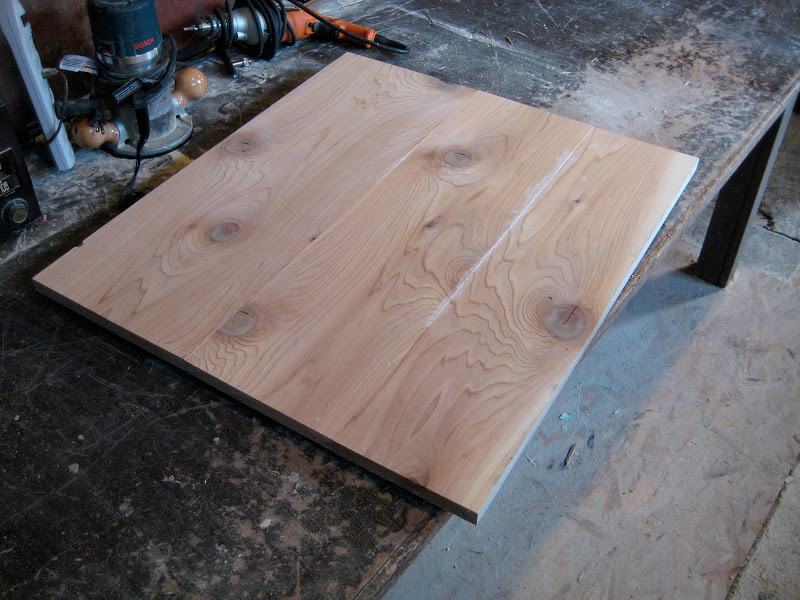
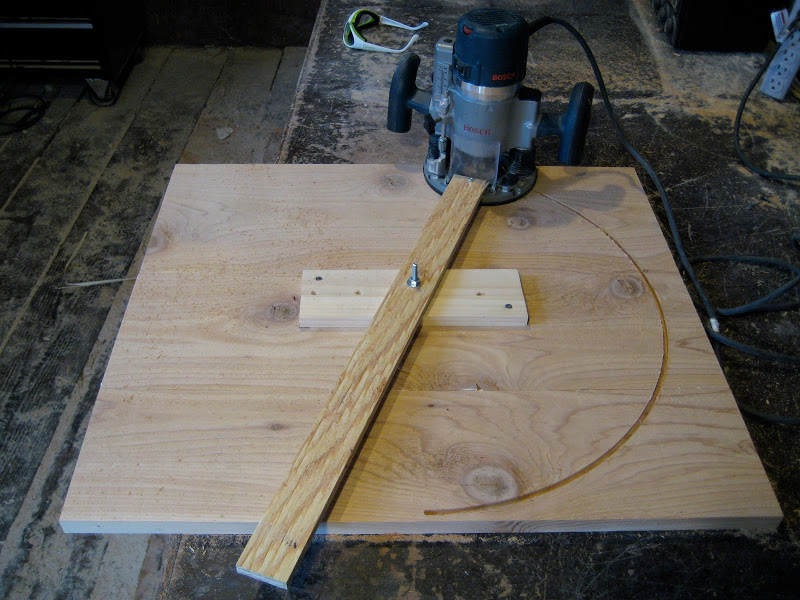
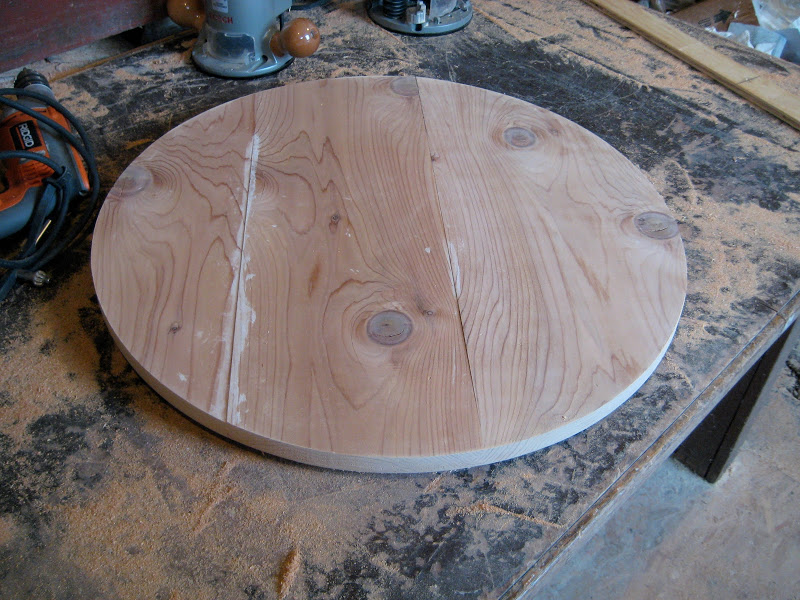
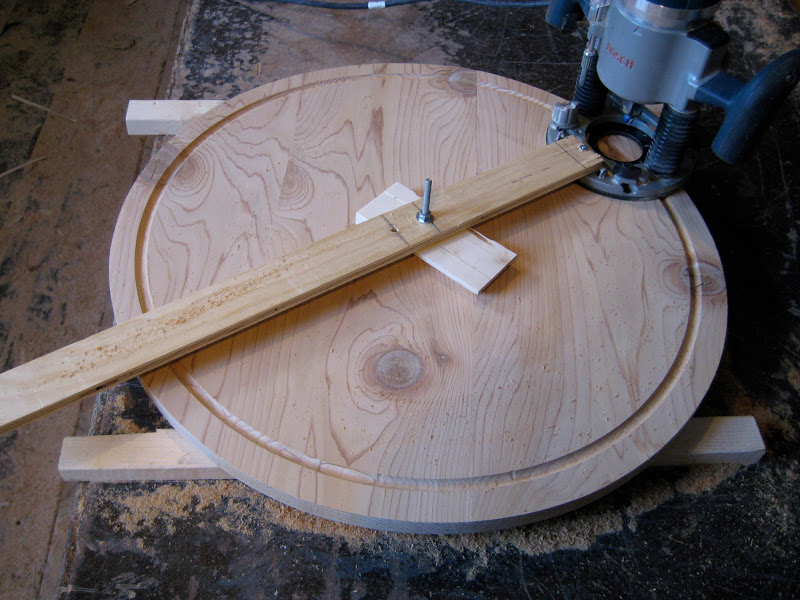
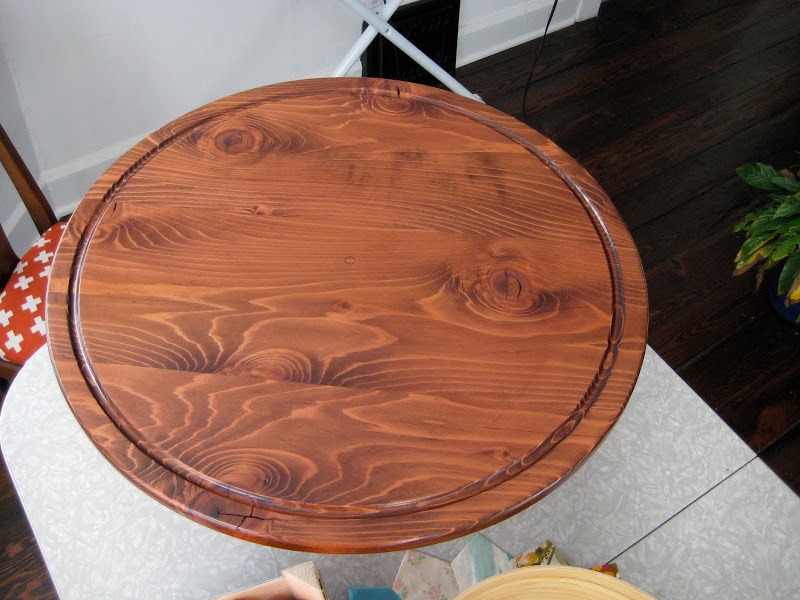
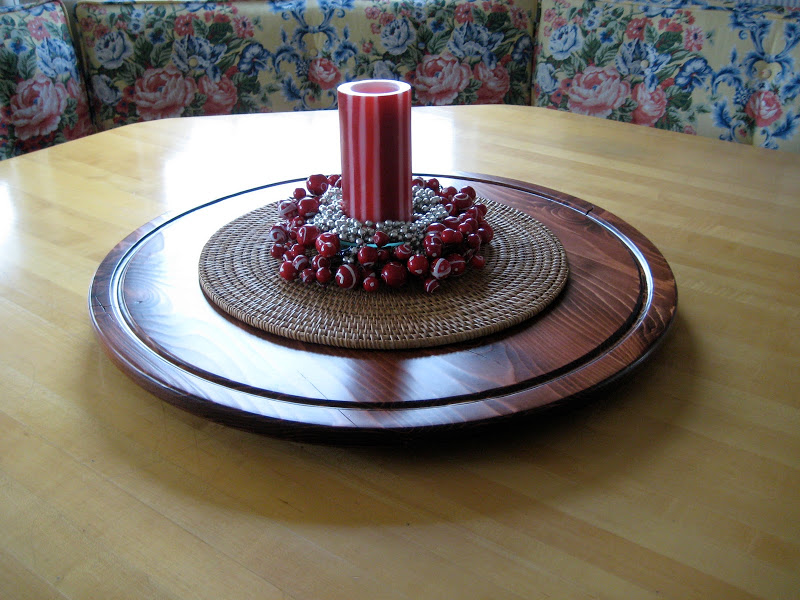
My parent’s Lazy Susan got real lazy and stopped turning so I made them a new one for Christmas. I actually remembered to take pictures of the process too, which is rare for me. As any rational person would do, I’m going to post the pictures in chronological order.


*I used cedar. Why? No particular reason. I’ve just never used it before.


*The tongue and groove joint is a bit annoying to make but worked well here.


*This is after it was glued and clamped.


*I made my own jig to cut the circle. You can buy them but that tends to cost money so I just improvised.


*A nice 24″ circle.


*This groove is for when you spill the gravy. It becomes a gravy moat.


*I used a combination of dye and stain, then four coats of satin polyurethane so it can withstand the rigors of the Lazy Susan life.

For the bottom I cut out another circle of MDF and painted it white. I purchased the hardware (the metal/ball bearing/rotational part) at a local woodworking store called Cleveland Tool & Cutter, which is my new favorite store, and store name. And no, they don’t sell T-shirts, I looked.

Overall I’m happy with how it turned out. I’ve never made a Lazy Susan before, let alone cut a circle out of wood. Let’s hope it keeps on turnin’.

-a.

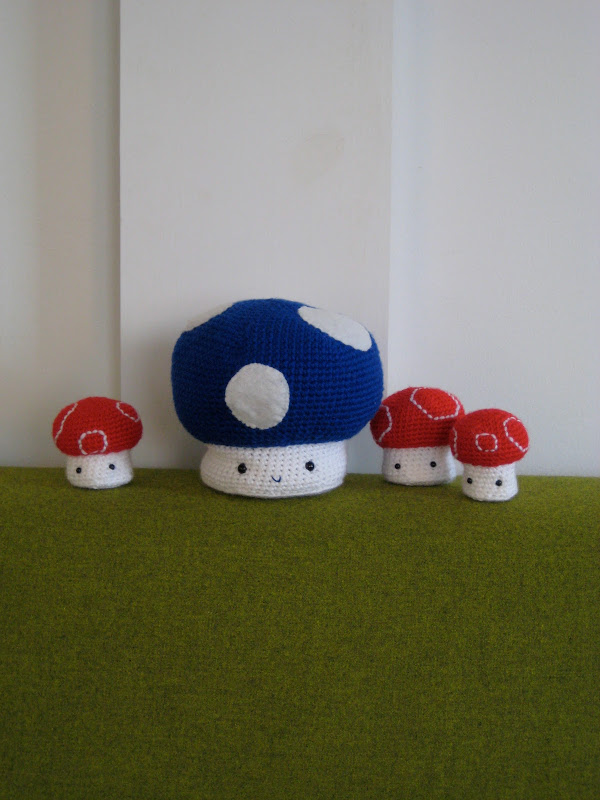
Remember the little crocheted mushrooms for our baby that I posted about a little while back?

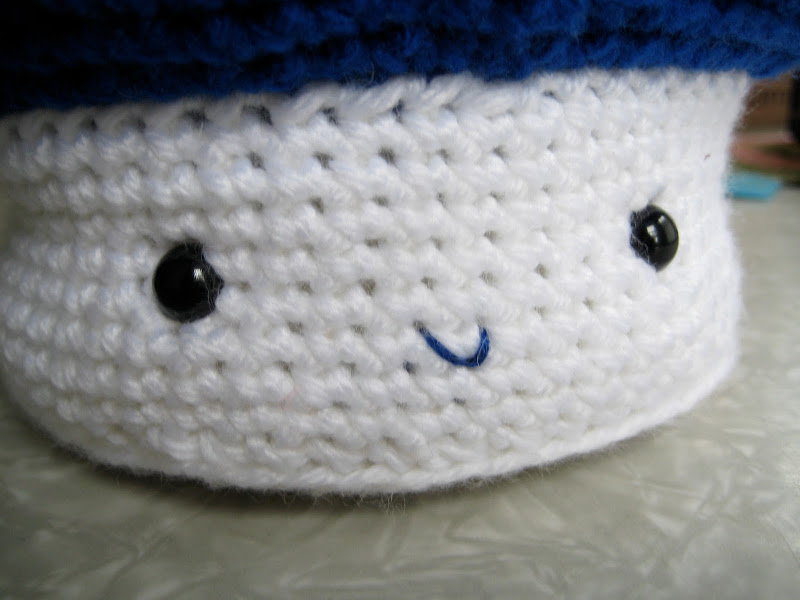
For Christmas, I made a big blue mushroom for our niece Layla! The red ones are the ones I made for our baby. I put them in the picture so you can see the size difference. Also, instead of stitching circles onto the cap I followed the original pattern and sewed felt circles on instead. I think I actually like the felt circles better!

I’m still hoping to one day make a BIG mushroom, but that will just have to wait.

–c.

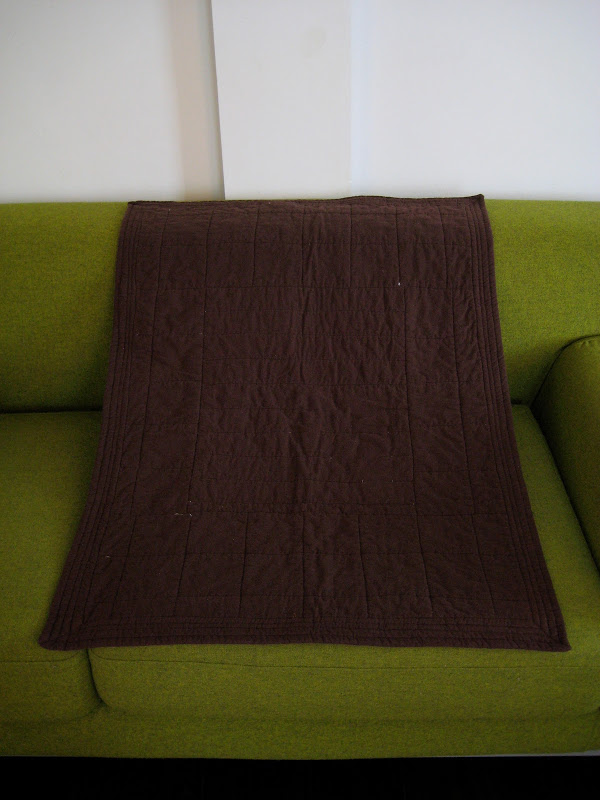
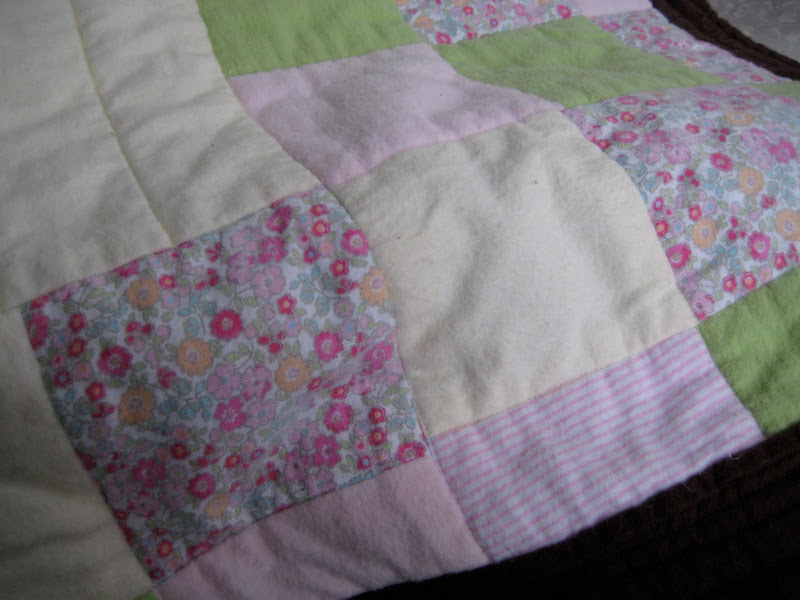
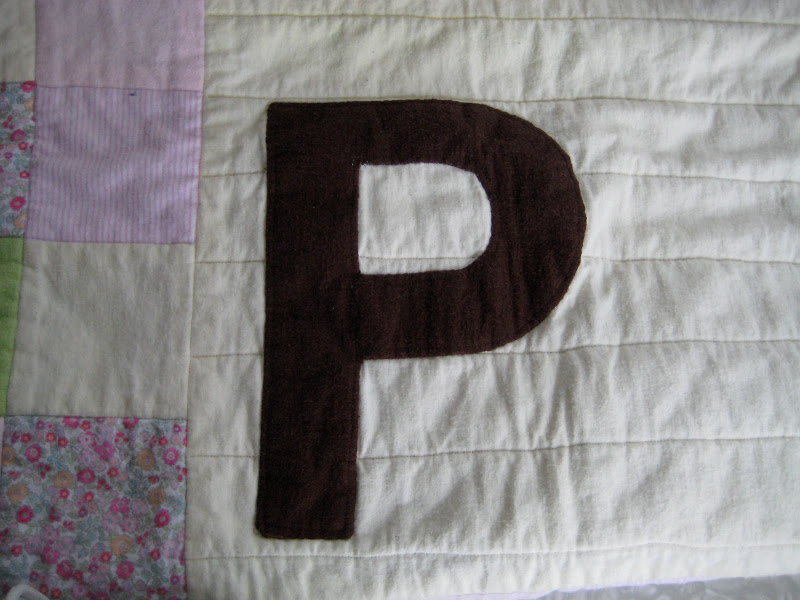
This past October my sister had her 4th baby, a little girl named Phoenix! For her Christmas gift I made her a little quilt, which was technically the first quilt that I have ever completed.


I started a quilt for our baby a few months back, but have yet to finish it. The one I made for Phoenix is a lot smaller than the one I’m making for our baby and it turned out to be a good learning experience. I almost tore my hair out a couple times, but overall I’m happy with how it turned out. I’m confident that I am now better equipped to handle a larger quilt next time around.

I made this quilt out of flannel and though in the pictures it looks good enough, it’s by no means perfect. Honestly, I don’t really know how to sew too well and half the time I’m just improvising as I go along. There are plenty of puckers and bunches in places, but oh well!

Here are some detail shots:


-c.