Crystal Madrilejos

Design & Creative

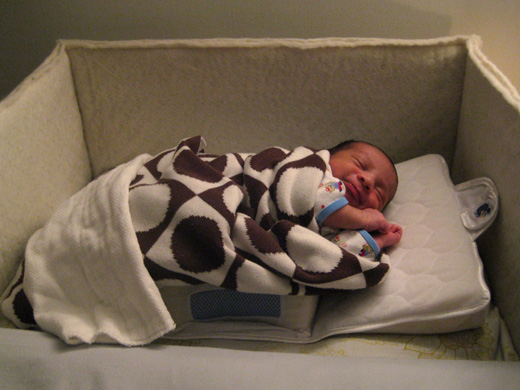
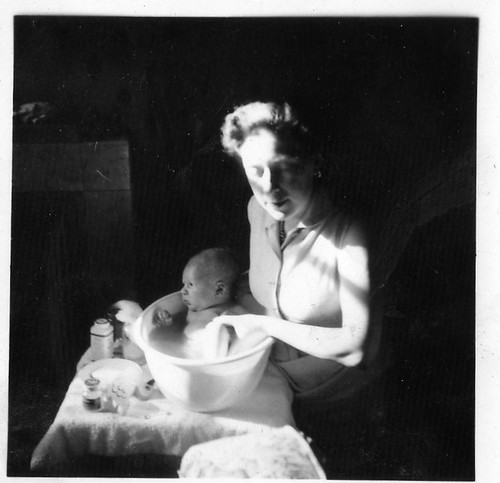
We got really lucky in this department with Q. He started sleeping through the night around three or four months. I have many friends and relatives with kids so I know this is not always the norm and something to be envied. So much so, that people give you the side-eye when you tell them that your baby sleeps through the night. I totally understand.

During those first few weeks I really understood why sleep deprivation is a form of torture. I was dead on my feet much of the time. But after awhile, the human mind and body really shows what it’s made of! By the end of those first four months I was able to sit up in bed at 3am, wide-eyed, and not be tired at all. And not only that, but I could function normally during the day on only four hours of sleep! Take that college days!

Last night, Q had one of his rare bad nights and ended up in our bed around 5 a.m. only to whine, and toss and turn and chew on my shirt, and smear his snot all over my pillow until 7 a.m.! It really made me appreciate that, in general, he is a really good sleeper. However, all those super awake-on-4-hours-of-sleep powers that I gained during those first few months pretty much disappeared after he started to sleep through the night.

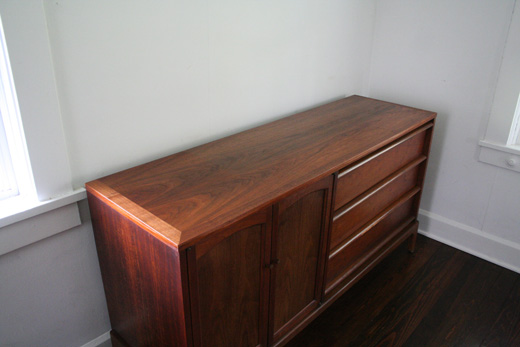
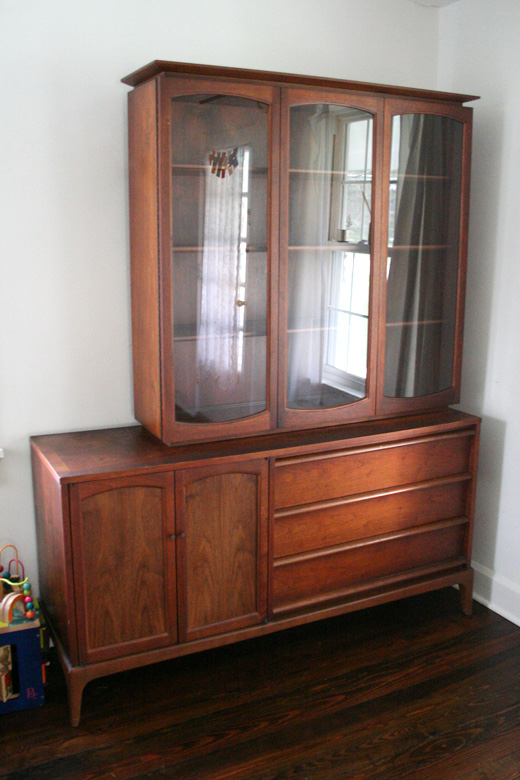
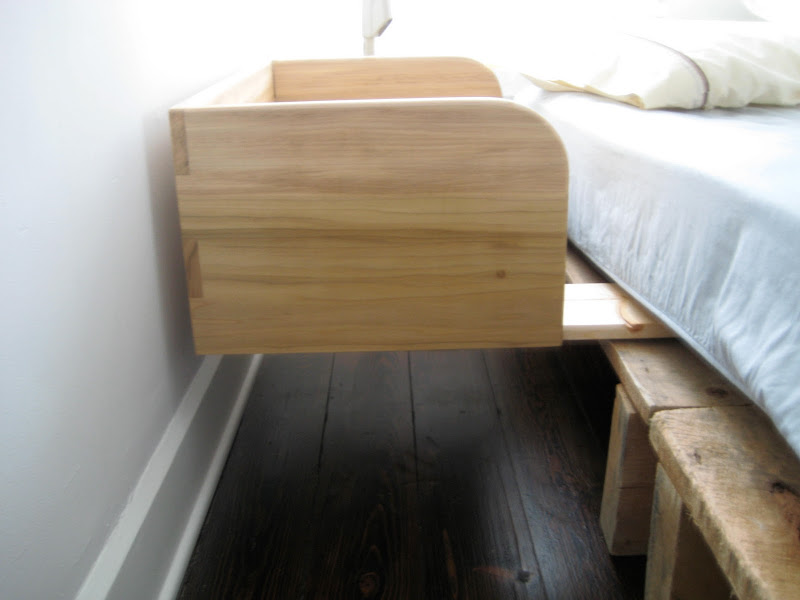
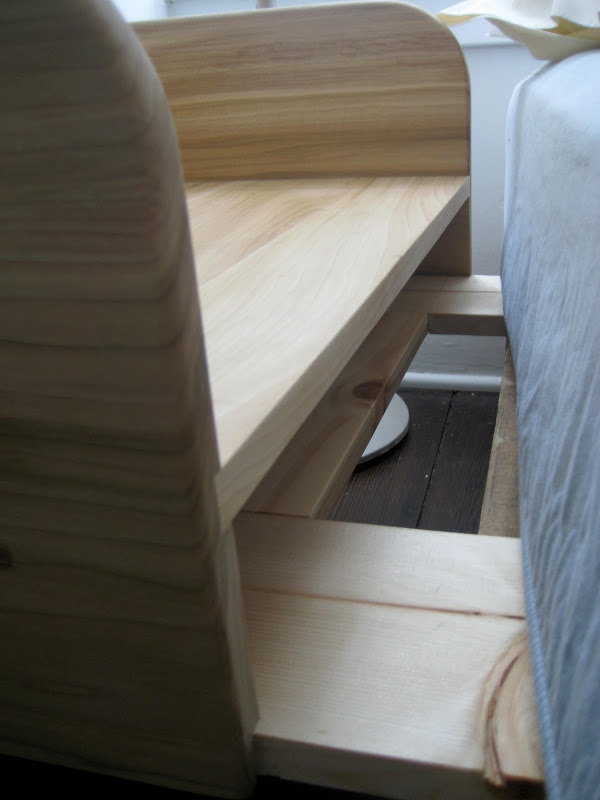
So, since we’re on the topic of sleeping, I’m hoping to get better pictures of Q’s crib soon so I can post those. Made with love by his Papa! Here is a sneak peek:
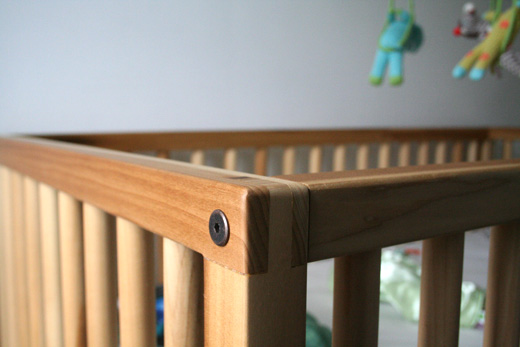
Enticing, isn’t it?
-c.

This weekend we finally completed the next step in Project Clean-Up-This-Old-China-Cabinet. In the first phase, we cleaned all the grime only to realize that the top would need to be stripped because the grime had pretty much damaged the finish. Phase 2 consisted of Citri-Strip, which looked like this while it worked its magic:

Followed by removal of the loosened old varnish with plastic scraper and lots of this nastiness:

Disgusting! So after that, we let it hang out for a bit, then the next day we gave it a cleaning with Mineral Spirits, a little sanding with extra fine sandpaper, another wipe, then a couple coats of Teak Oil. Voila! A long ways away from this mess.

Andrew decided that it needs a coat of shellac because as beautiful as the teak finish is, it isn’t as shiny as the rest of the piece so it doesn’t quite match. I trust his judgement. So! One to Phase 3! Hopefully, Phase 4 will be the phase where I fill it with all my junk!

-c.

You may remember my post about my early Mother’s Day mid-century modern china cabinet present? That was a really confusing sentence. But come on people, it was just last week. Anyway.

This thing is beautiful but very dirty. I’m sure it’s just an accumlation of years of dust that has congealed into a nasty black grime. But part of me thinks it could be that someone never learned to wash their hands after handling crude oil OR Andrew’s hypothesis: A smoker with a china cabinet next to their stove where they fried fish all day. Whichever way you swing it, this thing has some serious build up issues.

Murphy’s Oil Soap to the rescue! Thanks to Morgan’s post on Refreshing Vintage Wood, we had an idea of how to start dealing with this mess. As you can see from the before and after pictures, we got a lot of the nastiness off but next step is the strip the top of the old finish. Everywhere else on the piece is fine, but the top could use a sand and a finish with some Danish Oil.

I can’t wait to just GET IT DONE so I can start filling it with all my junk!

-c.

Ever since we posted about our co-sleeper, over the past year we’ve been receiving emails from readers looking to build something similar. Some people have even asked if we had thought about making them and selling them. We don’t have any plans of selling them for two reasons:

1. It doesn’t feel right. We based our co-sleeper on the Culla Belly design and it doesn’t feel like it’s our idea to sell.

– and –

2. Ideally, every one we make would have to be custom fitted to the bed it’s going to attach to and to the baby it will hold. It’s just not a construction that lends itself to mass production (at least with the materials and methods we are using). Maybe that’s why the Culla Belly has yet to be produced.

With that said, we are in the process of trying to put together a guide of sorts on how to make one yourself. It won’t contain any specific dimensions because everyone’s bed set up is a bit different. But the guide will lay out the things to consider and the options you have when building it yourself. Hopefully we’ll be able to get this together in a timely manner!

One last note. We are happy to share our process and make recommendations, but in the end it will be up to you to make sure it’s safe and secure for your baby.

Stay tuned…

-c.

Does anyone know what this piece of furniture is called? A china cabinet? A hutch?

Whatever it’s called, it’s awesome and beautiful and it was Andrew’s surprise early-Mother’s Day gift to me!

This past weekend we went on a little thrifting trip and came across this china cabinet (that’s what I’ll call it for now until someone corrects me) at a local thrift store that is usually hit or miss. This particular store can sometimes look like those hoarder houses on A&E, but they usually have really good prices on large items. So much so that I am willing to look past the old lady who chain-smokes and the cat in the corner giving birth (no joke).

We saw this china cabinet and we both really liked it, but it wouldn’t fit in our car. So we had to pass on it. The minute we left I knew we were passing up on something good, but there wasn’t anything we could do! I was feeling some serious non-buyers remorse. Is there such a thing?

Anyway, Monday I come home from work and it’s in our living room. Andrew had gone back with his Dad’s truck and got it for me! What a guy!

We’re still unsure of what our plans are for it, but you can be sure I’ll be posting about it again soon.

-c.

This is what mornings look like around here with the weather getting warm. Come ON warm weather! Baby boy can’t wait to run around the yard half-naked.
-c.

My Mom just came back from a 5-month trip to the Philippines. (Welcome home Mom!)

As per usual, she came bearing gifts from abroad and these two beauties were amongst them. She has a small obsession with Sake sets. I don’t think she actually enjoys drinking it, but she sure does love collecting those little cups with matching pitchers. Pitchers? That can’t be the correct term.

-c.

Early Bath 1956
Image by Smabs Sputzer via Flickr

Does anyone else have only a shower stall in their house? Has anyone else wanted to pull their hair out trying to bathe a one-year-old in a shower stall? Am I alone in my frustration with bath time?

After Q grew out of his baby bath tub we tried a few different things that worked with varying levels of success. Mostly low levels of success. We’ve tried the kitchen sink, our modified galvanized tub bathroom sink, a blow up ducky bathtub, and our recent incarnation of a bathtub being a big plastic flex tub/bucket from Target. Here are my issues:

Kitchen Sink: Too much water everywhere! Dude likes to splash and trying to rinse his hair with minimal spraying outside the sink area is nearly impossible.

Bathroom Sink: We have an unusual bathroom sink. It’s pretty much a round galvanized tub that we converted into a sink so it’s deep enough for him to bathe in. The splashing is a factor again here too especially since there is an electrical outlet right below the sink (don’t ask). Spraying is not an issue, since there is no sprayer which sucks just as much.

Blow Up Ducky Tub: This worked okay for a little while and is great if you are traveling. We took it with us to NYC with us when Q was about 7 months old. But he’s grown too big for it.

Plastic Flex Tub: This is what we are currently using and Q seems to like sitting in the brightly colored tub. But there’s no drainage so it’s basically the worst thing ever when you want to empty the water before rinsing.

Another frustrating thing about bath time is that Q seems to have an aversion to standing while bathing so it’s hard to get him rinsed well. He’ll only stand during a bath if I’m holding him up even though he is fully capable of standing on his own. This is also another reason we haven’t yet tried to just bathe him directly in the shower stall. We try to clean our shower often, but we still don’t feel comfortable with him sitting directly on the shower floor. I know there is a simple solution to this problem but it’s evading me with all it’s might.

How do you get a one-year old to stand during bath time? Is a thorough rinse even that important? What if he peed in the water? Am I over-analyzing this?

Anyone have a solution to this nonsense?

-c.

On Being, Uncategorized

Free Time

Can I just say I LOVE The Brick House?

Lately, this blog I found via notMartha has been consuming any free moment I have. It’s been my latest obsession and I’ve been not-so-secretly stalking this blog and reading all the archives. Not only is it complete eye-candy, but eye-candy delivered hilariously through the blog creator Morgan Satterfield.

In 2008, Morgan and her husband bought a mid-century brick home in Southern California with the intention of doing much of the renovation themselves. Morgan started the blog to document their renovation process but it has evolved into a full-fledged online shelter design resource. Not only that. She’s into thrifting. I mean, really into it. But the rub is, she can’t spend more than $100 on any one item. Though sometimes she does break this rule.

Renovations? Thrifting? Mid-century Danish design? Oh, let me count the ways… This is a girl after my own heart!

-c.

As Crystal mentioned in the previous post, the basic idea was adapted from the “Culla Belly” design. The main difference is the overall height of the co-sleeper. If you notice in the picture of the “Culla Belly” co-sleeper, the mattress it’s designed for is exceptionally thin. Ours is a “normal” mattress and is much thicker so the sides of the co-sleeper had to be a lot taller.

In essence, it’s a three-sided box with a “shelf” halfway up where the baby lies. The whole thing is attached to a frame underneath that extends far under the mattress keeping it in place. It’s quite secure but just for added strength we bolted it to the pallets that our bed sits on.

I did a lot of research on the toxicity of different types of wood and decided to use Poplar. Pretty much all of the basic wood types you would find at a lumber yard are perfectly safe, with the most common irritant being the dust produced from cutting and sanding. I’m also using Poplar for the crib, which is currently under construction. It’s a nice, easy to find, and not too expensive hardwood.

A lot of cribs these days are made out of different types of plywood and even MDF, which contain all sorts of industrial glues and even formaldehyde, so I knew I wanted to avoid those at all cost.

The next consideration was how to finish the co-sleeper. I decided to make my own finish instead of worrying about paints and stains and any kind of hard finish. To make the finish I heated up mineral oil – which is used on cutting boards and wooden utensils and is essentially unscented baby oil – and added some fragrance-free beeswax until it melted. (I bought the beeswax at A.I. Root here in town. Did you know that Medina, OH is The Bee Capital of the World? Well, you do now.) Then you let it cool and you rub on the paste that results (below). It’s completely food-safe and non-toxic.

My only worry in all of this is that Crystal’s not going to want to give up her new bedside space. (She’s currently using the co-sleeper as a side table and keeps her contacts, alarm clock, books, glasses, yarn, water bottle, tissues, hair ties, crocheting/knitting needles, and whatever else she manages to take to bed with her.)

-a.