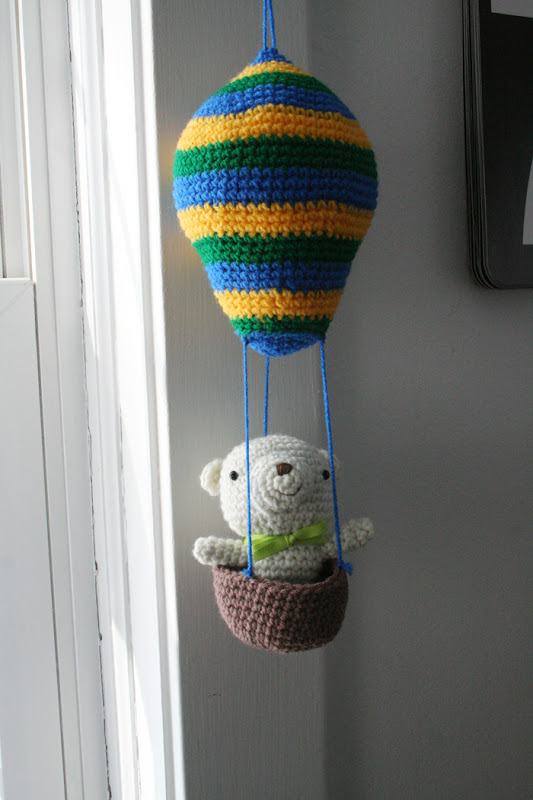
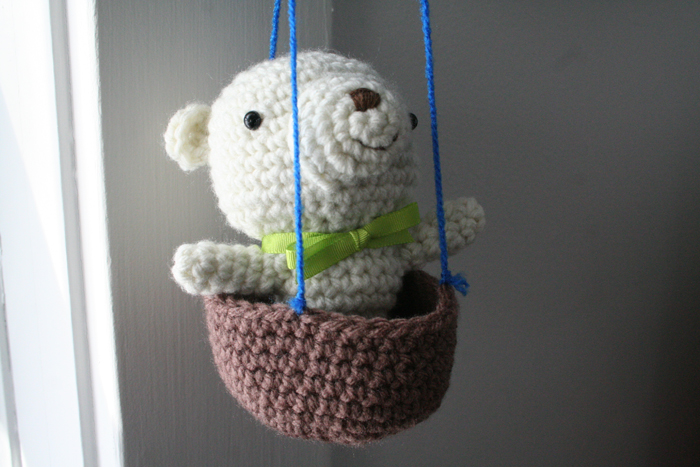
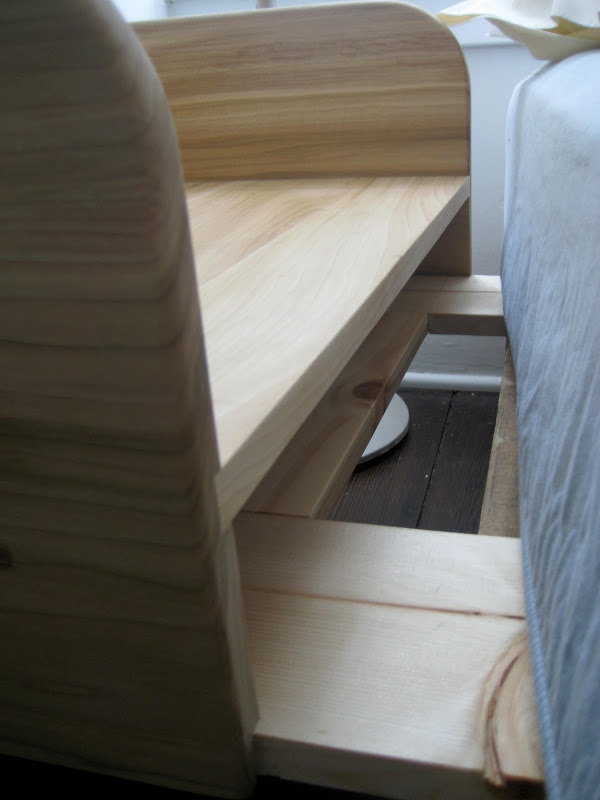
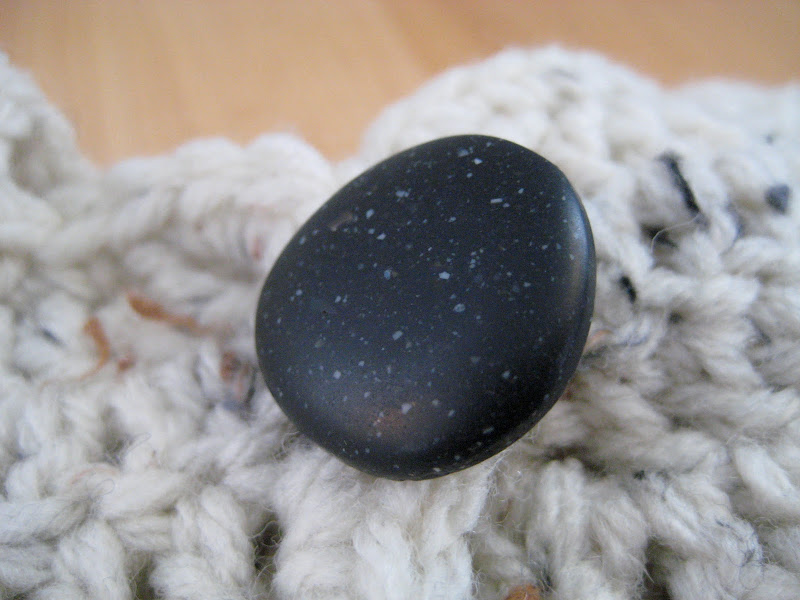
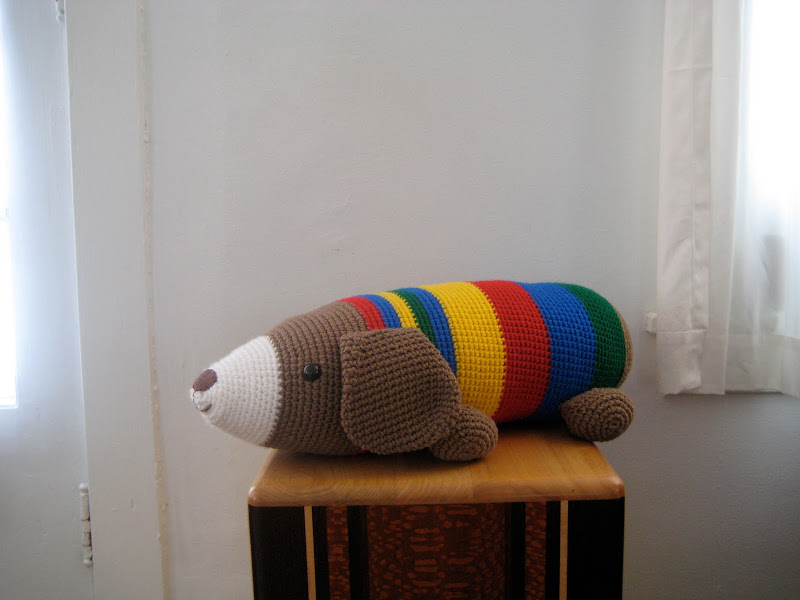
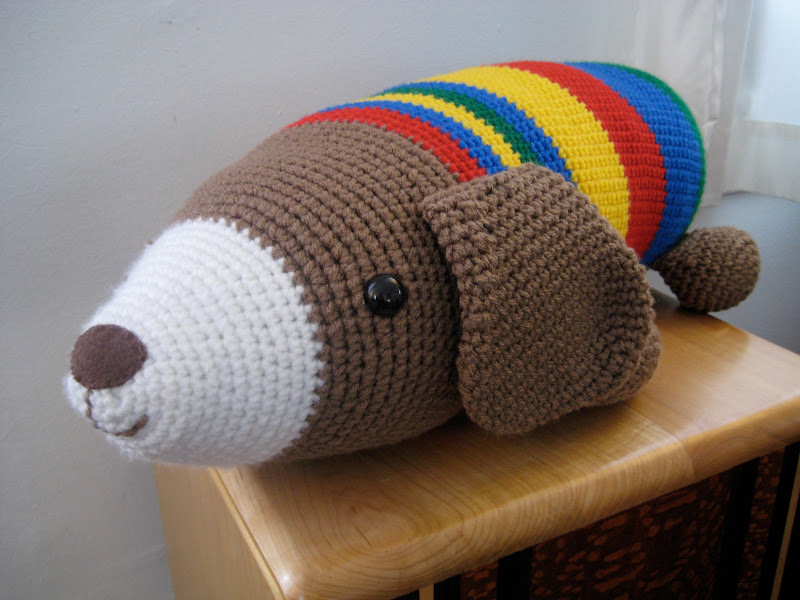
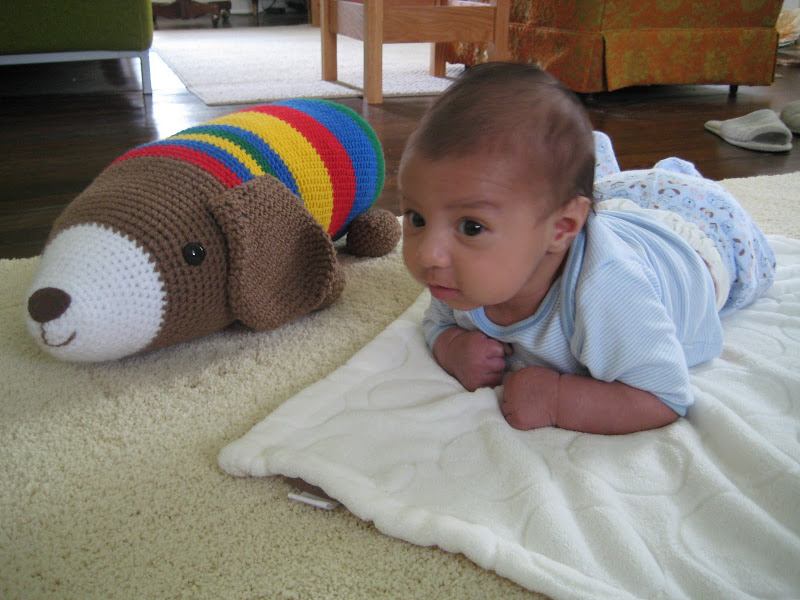
Crystal Madrilejos

Design & Creative


Remember this guy?

In the months before Q was born, both Andrew and I had a surge of productivity. I think it was our collective subconscious preparing us for a drought. We’ve been fortunate that Q is a good sleeper now. After his bedtime and before he wakes is our free time and both Andrew and I have been able to work on some new projects.

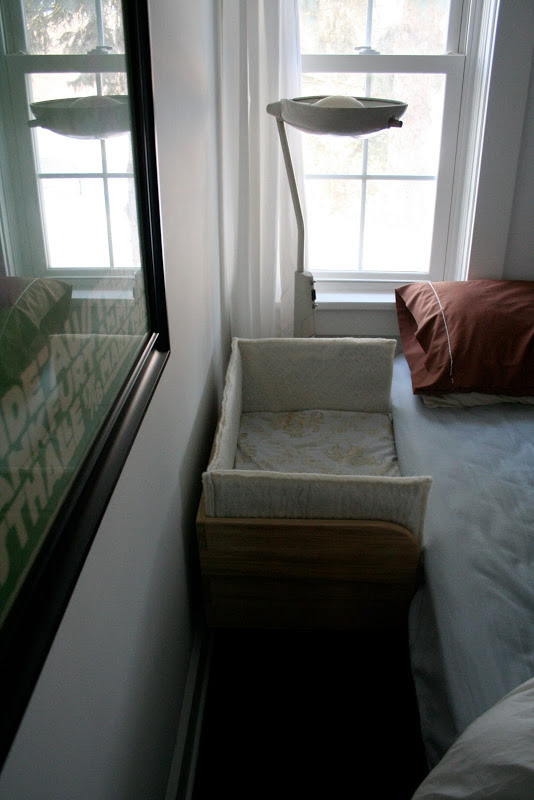
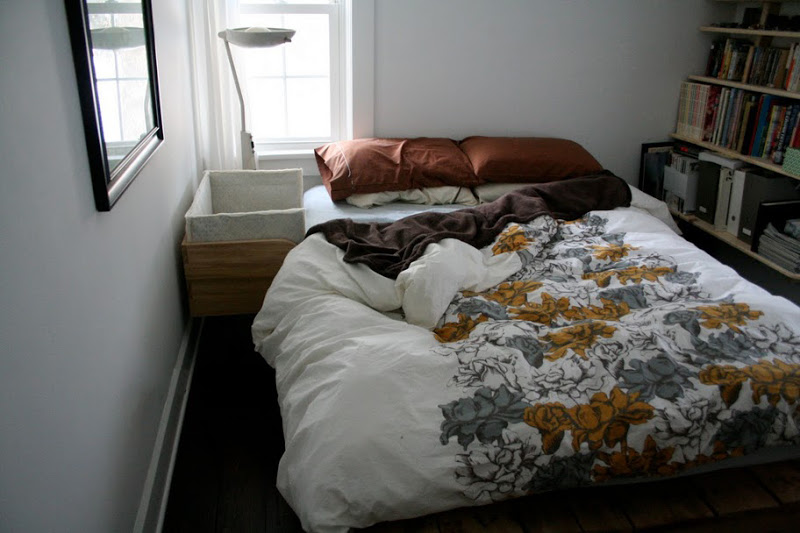
I figured an update is in order for the projects that we worked on before Q arrived.

I should preface this update with the fact that the majority of the time Q wears Fuzzi Bunz cloth pocket diapers. We were lucky enough to have generous family and friends who bought us these fancy pants (since they can be on the pricey side).

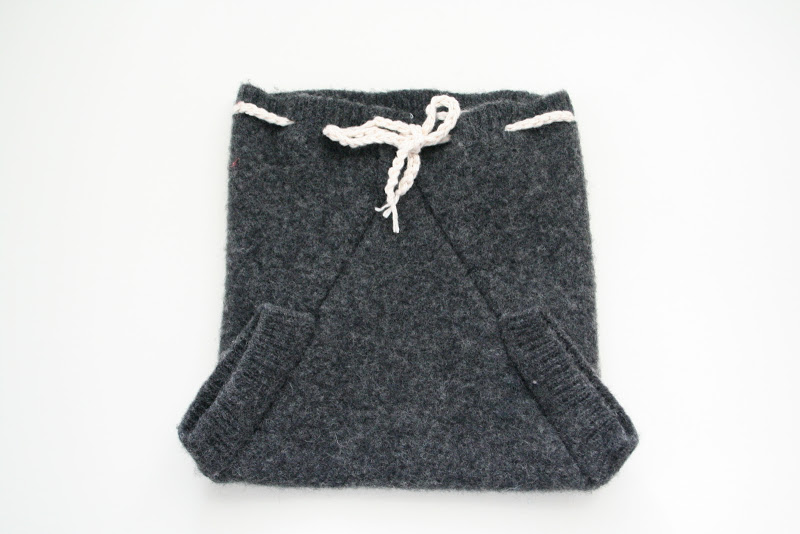
In making the wool diaper covers I was preparing for the possibility that we might not be gifted any fancy diapers. In that case we would have to use the more cost friendly pre-fold cloth diapers that require a water resistant covering. There have been times when we ran out of the pocket diapers and had to use the pre-folds as a back up. Despite my initial skepticism, the wool covers work unbelievably well. The amazing thing about wool is that it repels water and absorbs moisture at the same time! If you want to read more about the wonders of wool, you can read more here.

Here is Q sporting a pair of diaper covers made from a repurposed wool sweater that I felted in the washing machine:

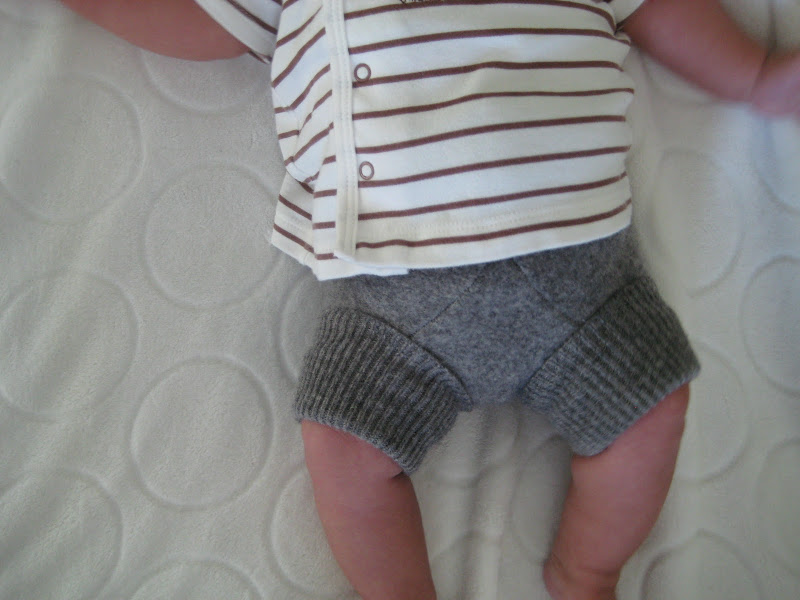
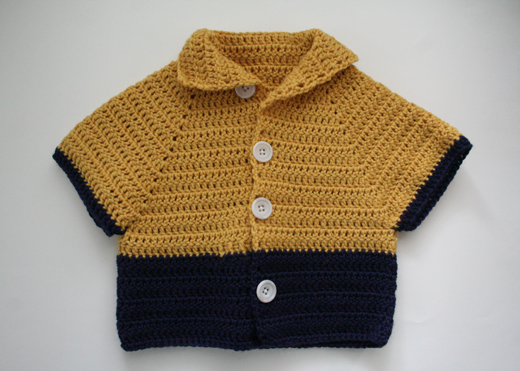
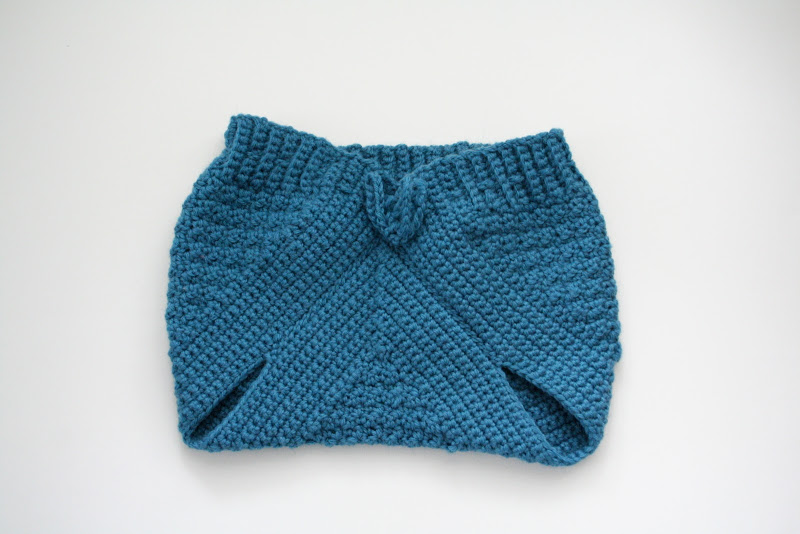
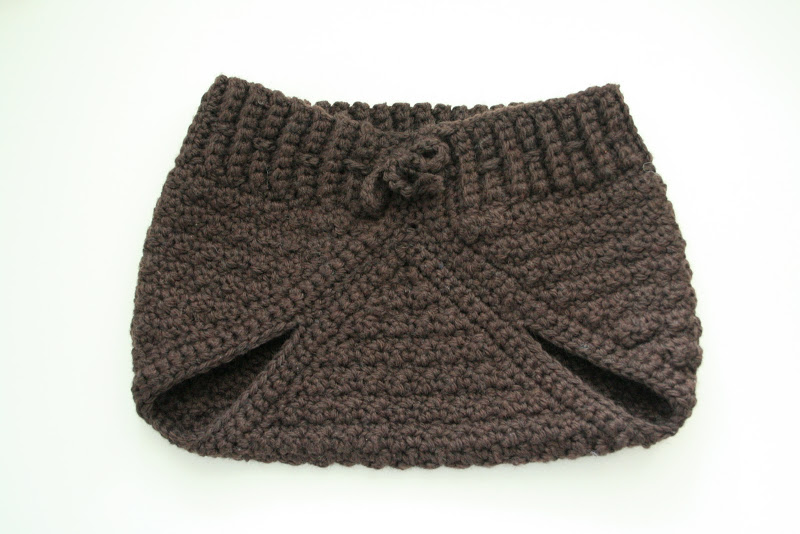
The crocheted cover and the knitted cover were also a success! The crocheted ones are still a bit large, but he’s already outgrown the Vanilla cover, so I’m in the process of knitting a larger size.

-c.

Andrew and Q are still sleeping (hooray!) so I figured I’d get in a quick post before the boys wake. This morning I was going through photos and found this little project that I never posted about.

I made this little guy for my friend’s son’s first birthday. The pattern is from Ana Paula Rimoli’s Amiguri Two! and he turned out pretty dang cute!

–c.

Uncategorized

Buccaneer Booties

While cruising around Etsy a little while back I found a pattern for sale of these cute little booties! They are called Buccaneer Booties and were designed by Etsy seller Mamachee. The pattern comes in four different sizes from newborn to 18 months. I made these in the newborn size, but I don’t think they will fit the baby right away since I used some fat yarn and they came out bigger than the pattern intended. I’m going to try to make another pair with a lighter yarn and see how they turn out size-wise.

–c.

As Crystal mentioned in the previous post, the basic idea was adapted from the “Culla Belly” design. The main difference is the overall height of the co-sleeper. If you notice in the picture of the “Culla Belly” co-sleeper, the mattress it’s designed for is exceptionally thin. Ours is a “normal” mattress and is much thicker so the sides of the co-sleeper had to be a lot taller.

In essence, it’s a three-sided box with a “shelf” halfway up where the baby lies. The whole thing is attached to a frame underneath that extends far under the mattress keeping it in place. It’s quite secure but just for added strength we bolted it to the pallets that our bed sits on.

I did a lot of research on the toxicity of different types of wood and decided to use Poplar. Pretty much all of the basic wood types you would find at a lumber yard are perfectly safe, with the most common irritant being the dust produced from cutting and sanding. I’m also using Poplar for the crib, which is currently under construction. It’s a nice, easy to find, and not too expensive hardwood.

A lot of cribs these days are made out of different types of plywood and even MDF, which contain all sorts of industrial glues and even formaldehyde, so I knew I wanted to avoid those at all cost.

The next consideration was how to finish the co-sleeper. I decided to make my own finish instead of worrying about paints and stains and any kind of hard finish. To make the finish I heated up mineral oil – which is used on cutting boards and wooden utensils and is essentially unscented baby oil – and added some fragrance-free beeswax until it melted. (I bought the beeswax at A.I. Root here in town. Did you know that Medina, OH is The Bee Capital of the World? Well, you do now.) Then you let it cool and you rub on the paste that results (below). It’s completely food-safe and non-toxic.

My only worry in all of this is that Crystal’s not going to want to give up her new bedside space. (She’s currently using the co-sleeper as a side table and keeps her contacts, alarm clock, books, glasses, yarn, water bottle, tissues, hair ties, crocheting/knitting needles, and whatever else she manages to take to bed with her.)

-a.

Uncategorized

Co-Sleeper

A lot of the projects that we post on here are either made by myself or by Andrew but this project was a cooperative effort between the two of us: a co-sleeper for the baby.

We decided to go the co-sleeper route for the first few months while I’m on maternity leave. If you’re unfamiliar with what a co-sleeper is, you can learn more here. It is basically a 3-sided bassinet that attaches to the side of the bed. They come in all different types and sizes. Since I will be nursing, we figured it would be easier to have the baby there next to me rather than me getting out of bed every two hours to go into the other room. BUT at the same time, not have the baby IN the bed with us.

Most co-sleepers on the market are big bulky things that involve many parts and can convert into other things like a free standing crib or a playpen. We wanted something really simple made from basic materials. With inspiration from this “Culla Belly” prototype we saw on swissmiss we made our own version.

I’ll let Andrew embellish more on the actual construction since he was responsible for that part. The parts I was responsible for were the wool felted sides, the mattress, and the mattress cover. Remember way back when I posted about making big pieces of felted alpaca wool? Well, this is what those were for. We knew we wanted felt sides but didn’t want to throw down the cash for industrial wool that would hold its shape on its own. So we improvised.

Here are the sides: They are made from are felt sewn around pieces of heavy cardboard and then sewn together.

The mattress: I sewed together remnants from the sides and layered them between two pieces of the alpaca felt.

The mattress cover: I crocheted a wool mattress cover just in case the baby springs a leak. I doubled the yarn while crocheting to make sure it was nice and dense (I used Lion’s Brand Fisherman’s Wool in Nature’s Brown) then felted it in the washing machine. If baby has an accident I can just throw the cover in the wash and not worry about washing the whole mattress.

Currently, I’m working on making little sheets but right now we just used a pillow case that fits surprisingly well. Check back soon for a post from Andrew on the construction.

–c.

Uncategorized

Baby Sweater #2

Baby sweater #2 is from this pattern called “Everyday is a New Sweater Day” that I found on the blog Yarny Days.

I changed it up a little bit because I think I messed up somewhere along the way and had to improvise. But it turned out ok. Instead of a long sleeve, it’s more of a 3/4 sleeve and more poncho looking than I think the pattern intended. I also put buttons down the front instead of just the two at the top and I also preferred it with the collar down instead of up. It just seemed like it might be too constricting around the neck.

I think I may eventually try this one again and try to do it the right way. But baby probably won’t be wearing this one for a little while since it’s sized for a 12 month old. So I have time!

–c.

Uncategorized

Sweaters

Up until recently I hadn’t yet ventured into crocheting any type of real clothing. I stuck mainly to scarves, bags, hats, Amigurumi animals, and now diaper covers. I don’t know when I will be ambitious and courageous enough to crochet a sweater for myself, but it seems that baby sweaters are the perfect way to start. For one thing, they are small so you don’t spend a million hours on something to find out that it is is downright terrible. And for another, baby doesn’t really care if it’s not perfect. The baby itself actually makes something so-so, into something really cute!

I made this sweater from a free pattern I found online. It’s for a newborn size and I think it turned out well. I have a stash of yarn that I feel obligated to use up before I buy new yarn (unless I have a project that calls for yarn that I don’t currently have) so this sweater isn’t made out of the softest stuff in the world, but I liked the color. And I love the button!

–c.

Uncategorized

Diaper Covers

Before we even knew we were having a baby, we knew that if we were to have one we would use cloth diapers. We realize that it’s not for everyone, but for us, it just made sense. There are a few different styles of cloth diapers and you can read about them here.

We’ve been fortunate that many people bought us the fancy pocket Fuzzibunz diapers for our baby shower. But we are also preparing ourselves for having to use pre-folds just in case it turns out that 10 pocket diapers are not enough to keep up with baby’s needs. With pre-folds the diaper is separate from the diaper cover. Covers come in a few different materials from plastic to wool; wool being on the more attractive end (in my opinion), but also on the more expensive end.

Luckily, there are many tutorials online for making your own wool diaper covers. I tried a couple different versions and plan on trying more if it turns out that we need more. The two patterns I tried were this one for a crocheted wool diaper cover (also called a soaker) and this one for a wool felted version made from recycled wool sweaters.

The crocheted ones look a little different from one another because I changed the pattern on the blue one (shown at the beginning of the post) to make it smaller. This brown one is made exactly as the pattern is written and I tried it on my 10 month old niece (she wears cloth diapers too) and it fit her perfect. The blue one might fit the baby after a couple months.

I made a bunch of recycled wool sweater covers because they are very, very simple to sew. (And a lot less time consuming than the crocheted ones.) This is just one pair that I happened to like the best. One thing I learned is that it helps if the wool isn’t too thick because it gets hard to sew and the cover turns out super bulky. The wrist bands of the sweater are used for the leg holes.

–c.

Uncategorized

Rainbow Dog

With all the Christmas gifts we’ve been posting, you may have thought we have been neglecting this little baby of homemade goods but don’t worry. We’ve been busy!

I still have the crocheting bug (to be honest, it’s just the easiest craft to do when I’m sitting in bed or away from home without access to my other projects). I really wish I knew how to knit! A couple people have generously offered to help me learn which I’m very thankful for. One of these days…

In the meantime, I made this crocheted dog (similar to the one I made before for my niece Layla) but with different colors.

This one is also not as long, which I think happened because I did my single crochet different on the one I made before. For Layla’s dog, I stitched in only the back loops which makes for a stretchier stitch. I also used different yarn for this one. Layla’s dog was made with Caron Simply Soft, which is 100% Acrylic, but still soft (hence the name). But for the new dog I used Red Heart Classic, which is also 100% Acryclic but pretty stiff and not so soft. However, it does hold it’s shape nicely. I’ve always had an aversion to Red Heart because it’s so synthetic that it actually squeaks when you crochet with it. But I guess it makes for a more durable toy and is super cheap.

-c.

Remember the little crocheted mushrooms for our baby that I posted about a little while back?

For Christmas, I made a big blue mushroom for our niece Layla! The red ones are the ones I made for our baby. I put them in the picture so you can see the size difference. Also, instead of stitching circles onto the cap I followed the original pattern and sewed felt circles on instead. I think I actually like the felt circles better!

I’m still hoping to one day make a BIG mushroom, but that will just have to wait.

–c.