Crystal Madrilejos

Design & Creative

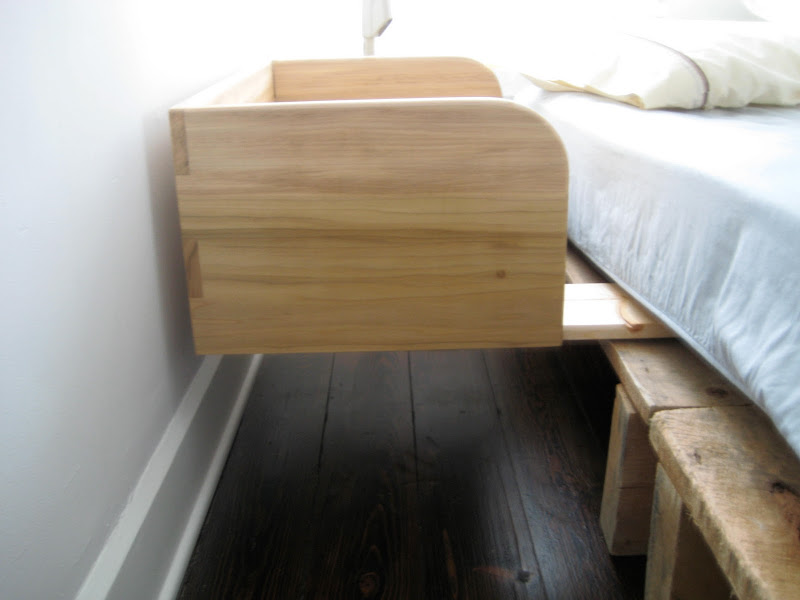
As Crystal mentioned in the previous post, the basic idea was adapted from the “Culla Belly” design. The main difference is the overall height of the co-sleeper. If you notice in the picture of the “Culla Belly” co-sleeper, the mattress it’s designed for is exceptionally thin. Ours is a “normal” mattress and is much thicker so the sides of the co-sleeper had to be a lot taller.

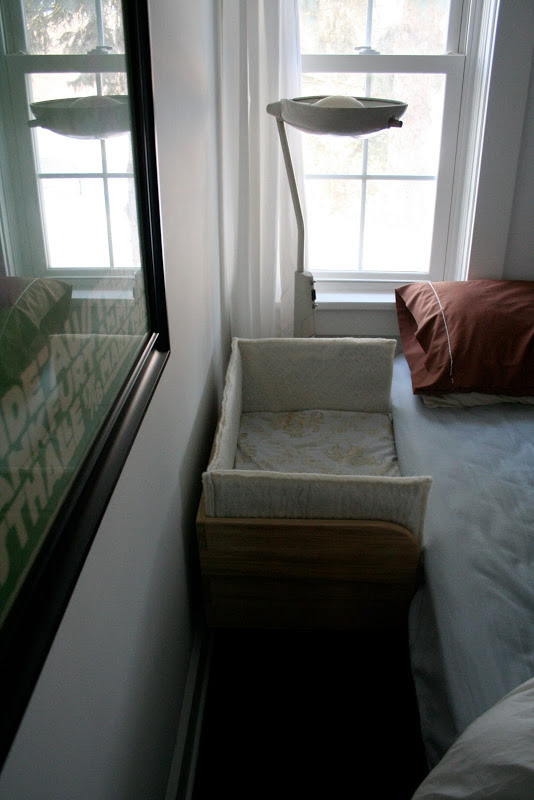
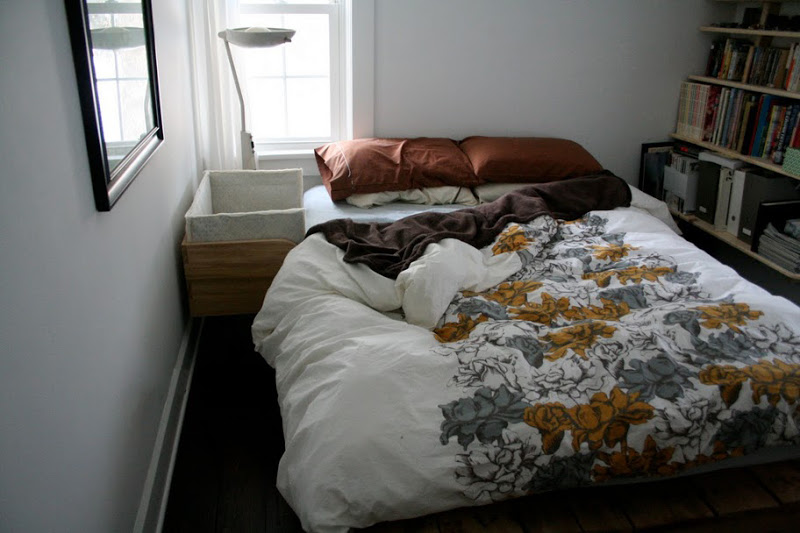
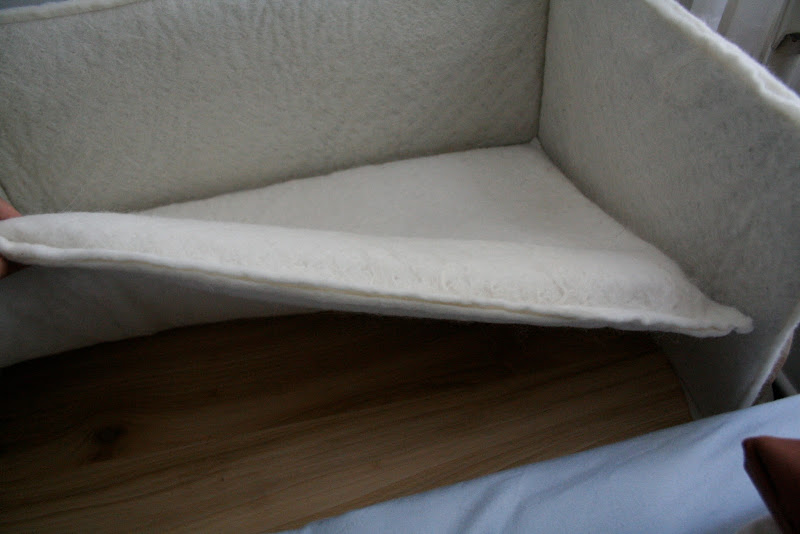
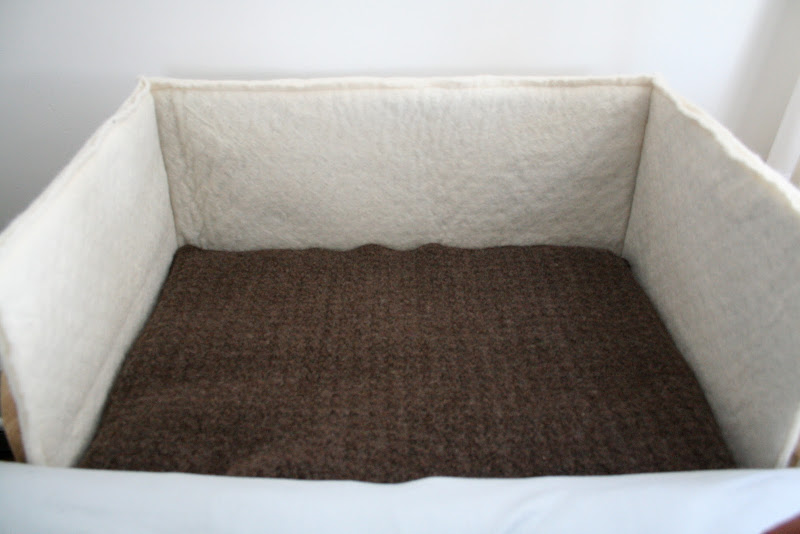
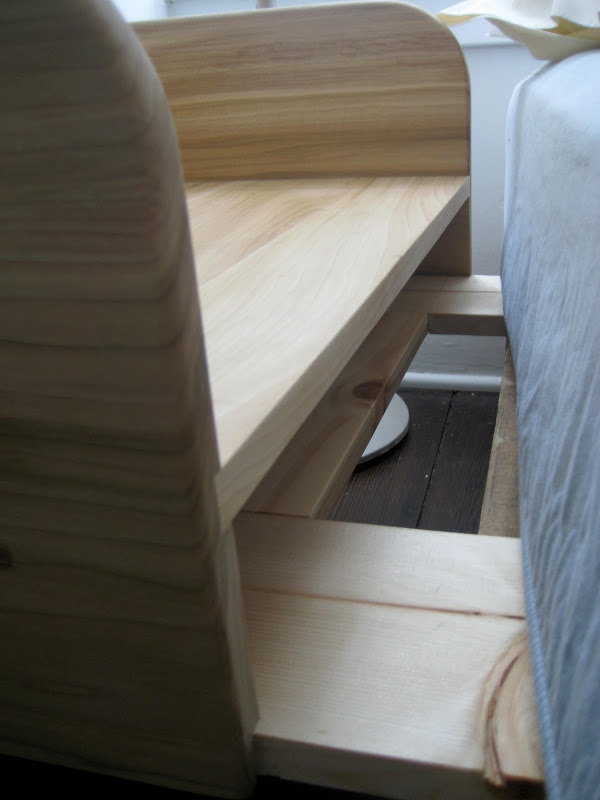
In essence, it’s a three-sided box with a “shelf” halfway up where the baby lies. The whole thing is attached to a frame underneath that extends far under the mattress keeping it in place. It’s quite secure but just for added strength we bolted it to the pallets that our bed sits on.

I did a lot of research on the toxicity of different types of wood and decided to use Poplar. Pretty much all of the basic wood types you would find at a lumber yard are perfectly safe, with the most common irritant being the dust produced from cutting and sanding. I’m also using Poplar for the crib, which is currently under construction. It’s a nice, easy to find, and not too expensive hardwood.

A lot of cribs these days are made out of different types of plywood and even MDF, which contain all sorts of industrial glues and even formaldehyde, so I knew I wanted to avoid those at all cost.

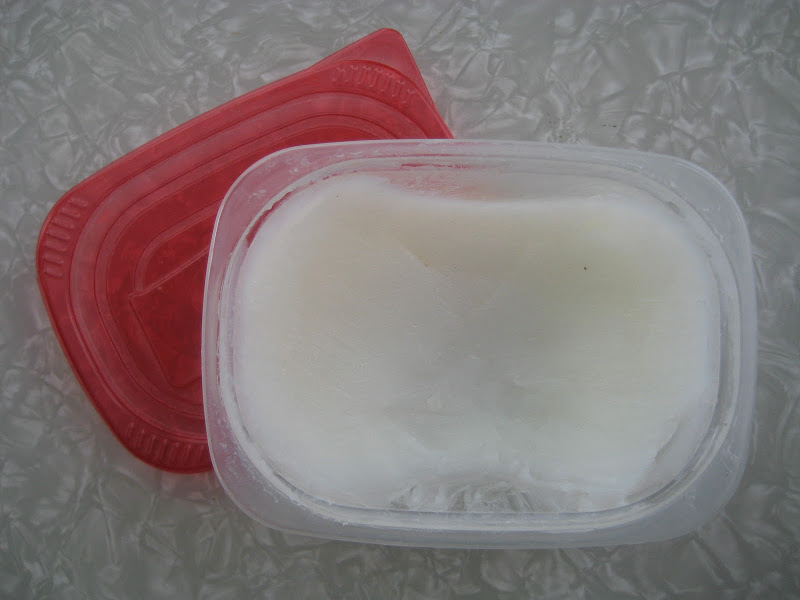
The next consideration was how to finish the co-sleeper. I decided to make my own finish instead of worrying about paints and stains and any kind of hard finish. To make the finish I heated up mineral oil – which is used on cutting boards and wooden utensils and is essentially unscented baby oil – and added some fragrance-free beeswax until it melted. (I bought the beeswax at A.I. Root here in town. Did you know that Medina, OH is The Bee Capital of the World? Well, you do now.) Then you let it cool and you rub on the paste that results (below). It’s completely food-safe and non-toxic.

My only worry in all of this is that Crystal’s not going to want to give up her new bedside space. (She’s currently using the co-sleeper as a side table and keeps her contacts, alarm clock, books, glasses, yarn, water bottle, tissues, hair ties, crocheting/knitting needles, and whatever else she manages to take to bed with her.)

-a.

Uncategorized

Co-Sleeper

A lot of the projects that we post on here are either made by myself or by Andrew but this project was a cooperative effort between the two of us: a co-sleeper for the baby.

We decided to go the co-sleeper route for the first few months while I’m on maternity leave. If you’re unfamiliar with what a co-sleeper is, you can learn more here. It is basically a 3-sided bassinet that attaches to the side of the bed. They come in all different types and sizes. Since I will be nursing, we figured it would be easier to have the baby there next to me rather than me getting out of bed every two hours to go into the other room. BUT at the same time, not have the baby IN the bed with us.

Most co-sleepers on the market are big bulky things that involve many parts and can convert into other things like a free standing crib or a playpen. We wanted something really simple made from basic materials. With inspiration from this “Culla Belly” prototype we saw on swissmiss we made our own version.

I’ll let Andrew embellish more on the actual construction since he was responsible for that part. The parts I was responsible for were the wool felted sides, the mattress, and the mattress cover. Remember way back when I posted about making big pieces of felted alpaca wool? Well, this is what those were for. We knew we wanted felt sides but didn’t want to throw down the cash for industrial wool that would hold its shape on its own. So we improvised.

Here are the sides: They are made from are felt sewn around pieces of heavy cardboard and then sewn together.

The mattress: I sewed together remnants from the sides and layered them between two pieces of the alpaca felt.

The mattress cover: I crocheted a wool mattress cover just in case the baby springs a leak. I doubled the yarn while crocheting to make sure it was nice and dense (I used Lion’s Brand Fisherman’s Wool in Nature’s Brown) then felted it in the washing machine. If baby has an accident I can just throw the cover in the wash and not worry about washing the whole mattress.

Currently, I’m working on making little sheets but right now we just used a pillow case that fits surprisingly well. Check back soon for a post from Andrew on the construction.

–c.

Uncategorized

Diaper Covers

Before we even knew we were having a baby, we knew that if we were to have one we would use cloth diapers. We realize that it’s not for everyone, but for us, it just made sense. There are a few different styles of cloth diapers and you can read about them here.

We’ve been fortunate that many people bought us the fancy pocket Fuzzibunz diapers for our baby shower. But we are also preparing ourselves for having to use pre-folds just in case it turns out that 10 pocket diapers are not enough to keep up with baby’s needs. With pre-folds the diaper is separate from the diaper cover. Covers come in a few different materials from plastic to wool; wool being on the more attractive end (in my opinion), but also on the more expensive end.

Luckily, there are many tutorials online for making your own wool diaper covers. I tried a couple different versions and plan on trying more if it turns out that we need more. The two patterns I tried were this one for a crocheted wool diaper cover (also called a soaker) and this one for a wool felted version made from recycled wool sweaters.

The crocheted ones look a little different from one another because I changed the pattern on the blue one (shown at the beginning of the post) to make it smaller. This brown one is made exactly as the pattern is written and I tried it on my 10 month old niece (she wears cloth diapers too) and it fit her perfect. The blue one might fit the baby after a couple months.

I made a bunch of recycled wool sweater covers because they are very, very simple to sew. (And a lot less time consuming than the crocheted ones.) This is just one pair that I happened to like the best. One thing I learned is that it helps if the wool isn’t too thick because it gets hard to sew and the cover turns out super bulky. The wrist bands of the sweater are used for the leg holes.

–c.

Uncategorized

Felt Garland

On top of it being basketball season, we are in the thick of football season as well. And for me that means a few more hours a week of crafting while Andrew watches the game.

Recently during games, I’ve started making a garland of little felt balls for our Christmas tree. I’m using the leftover cuttings from when I trimmed down the felt I made a little while back. It takes awhile to make these, and it’s a little messy and makes my hands hurt a little. But it’s still fun nonetheless! I doubt this garland is going to get done before Christmas. Maybe it’ll be done by the next one.


Not sure why they are so fuzzy or if that’s normal, but oh well! I found this tutorial on the Martha Stewart website if you’re interested in trying your hand at it.

—c.

Uncategorized

Finished Felt

Here are the final pieces of felt from my felting session fully dried! Aren’t they beautiful? There are three pieces each measuring roughly 3’X4′ but they still need to be trimmed.

The trimmings from around the edges can still be used for other projects that I have yet to plan. I think I’m going to try my hand at needle felting. (Andrew’s mom make beautiful needle felted objects including pillows, scarves, and Christmas ornaments.)

The faint diamond shaped pattern in the felt is from the felting machine and over time it disappears. I also forgot to mention in my previous post, these are made up of a combination of 80% alpaca and 20% merino wool.

-c.

Uncategorized

Wool Felting


The other day I had the wonderful experience of making wool felt! As most of you know, Andrew’s parents own alpacas and have been shearing them and, more recently, having their wool processed. Andrew’s mom has been felting for a little while now and last Christmas she got me a gift certificate for felting classes at a local fiber studio.

We went to Places in Time Farm & Fiber Arts (which is also founder and home of the Ohio Natural Fiber Network) for my first felting session. So so much fun! I love the place, it’s so relaxing and there are so many beautiful things to look at and the owner, Karen, is a lovely person.

Andrew and I are working on another baby related project that involves felt and it is an amazing feeling to actually have felt that was raised, sheared, processed, and then felted all locally. Here are pictures of the process:


I still need to take pictures of the fully dried pieces, but will post those soon.

–c.