Crystal Madrilejos

Design & Creative

forgotten room
Image by Timothy Sandstrom via Flickr

I’m pretty sure that bloggers are the perfect mix between exhibitionist and voyeur. As much as I love sharing, I also immensely enjoy having a glimpse into other peoples minds, lives, inspirations, etc. It’s just fascinating to me.

So it’s no surprise that I would love this site: Method & Craft

 
About Method & Craft:

We like to think of Method and Craft as the DVD extras of design: the stories behind the work, who made it, how they did it, and the techniques people have developed throughout their professional career. We all use the same tools, but we use them differently. We strive to educate you on more efficient, creative, and engaging ways to create your design. This site will not only be valuable to creative veterans, but also educational to those new to the design field. It’s like looking over the shoulder of your favorite designer.

If you are looking for inspiration or are curious about other designer’s processes, you should definitely check out the site.  Love love love it!

-c.
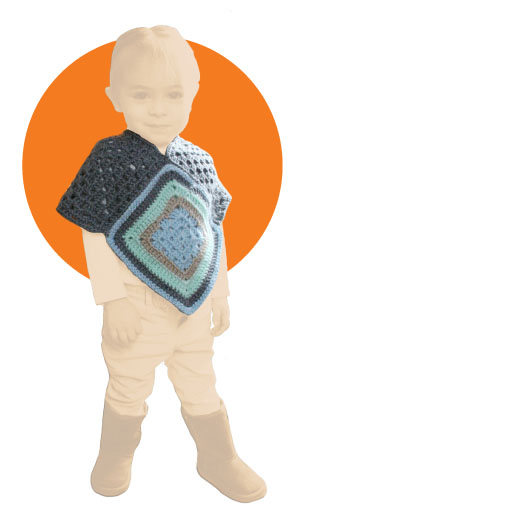
As promised, I whipped up this tutorial for the ponchos I posted about a couple weeks ago. This is my first tutorial, so bear with me. Writing tutorials is hard work. Especially when I could only work on it for mere minutes at a time. I’m hoping that I don’t confuse anyone with my directions.

Granny Square Poncho Tutorial
Materials: Yarn, Crochet hook, embroidery needle and safety pins
Step 1: Crochet four Granny Squares of equal size. If you aren’t familiar with how a Granny Square is made, read Purl Bee’s tutorial on the Classic Granny Square Pattern.

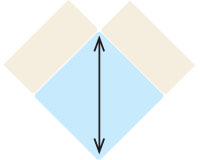
The size of the poncho is going to depend on the size Granny Square you make. The diagonal measurement of the square equals the length of the poncho from neck opening to the bottom of the poncho point, like so:

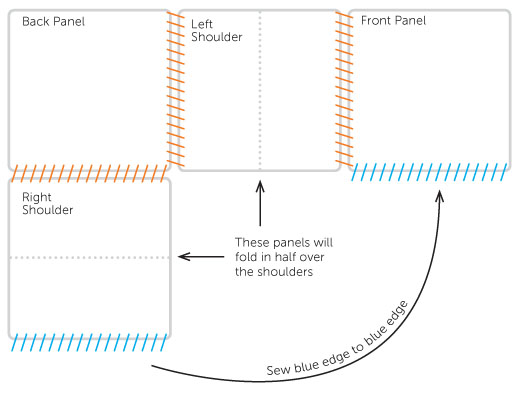
Step 2: When you’ve completed your squares (i’m sure they look lovely), arrange the squares according to this diagram and attach edges together using safety pins.

Step 3: Using an embroidery needle and yarn, begin sewing together sides. Remove safety pins as you go.

(Optional) Step 4: To create a smaller neck opening or to build up a little bit of a cowl neckline: Single crochet around the neck opening to the desired height. Done!

If you have any questions, feel free to comment of email me directly. I’m not sure such a simple project warranted such a lengthy explanation, but oh well! You’re welcome! :)

I also spent some minutes putting together a printable version of this tutorial, you know, just in case you’re like me and have binders full of project ideas that I never get around to doing. (Though, I really hope you try this one and tell me how it goes. Oh! And send pictures of your creations too!)

Download the Granny Square Poncho Tutorial here.

Enjoy!
– c.

P.S. Just one last thing before I let you get crafting, this pattern is for personal use only. Please don’t sell this pattern or any project made from this pattern. Feel free to share this and make as many as you please for everyone you know, BUT please please don’t sell them.  Thank you!

Cubagallery : Beach Bike
Image by Andrew@CubaGallery via Flickr

This has been a long time coming. If you didn’t notice, we have a new header image! This is just the start of fun and exciting things to come. What those things are, I’m still not sure. But I am confident they are good things. We’re just sort of winging it around these parts, which seems to be the way to do things when time and brain function is limited. So, until these “fun and exciting” things start happening, you can at least enjoy the new scenery!

If you can’t remember what the header looked like (it was just yesterday people, c’mon!) this was it:

I still like the old one, but I just felt it needed to be…freshened up or something. Maybe I was just sick of looking at it. Whatever the case, I’m happy with the direction we’re moving in. Progress people!

-c.

I figured I’d post about a couple Christmas gifts I made this past year. This weather is crazy. But I guess I shouldn’t expect anything different since it’s Ohio and we go through this every year.

I realize Christmas is long over. Maybe next year I will post in a more timely manner. But I won’t hold my breath. Anyways! On to gifts!

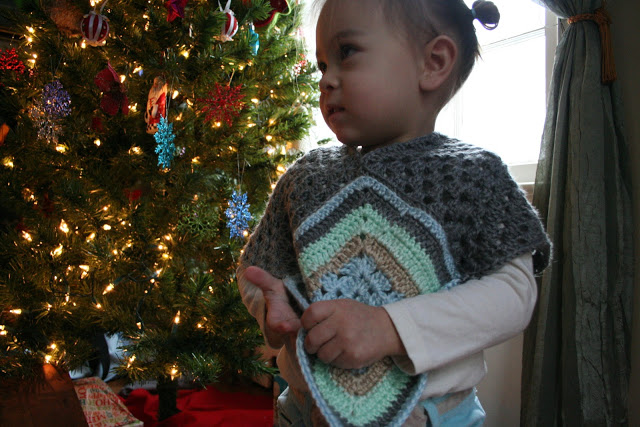
Many many years ago, a friend and I started crocheting together and we went through a phase of making granny squares. Our grand plan was to make a ton of squares, and through our combined effort, a blanket of granny squares for each of us. Long story short, this didn’t happen and all these years I’ve been holding onto these squares. Until this past Christmas when I found the perfect use! Little ponchos!!!

Those little ladies are two of my nieces. They are both around 2 years old and the ponchos fit great! Basically, I took 4 granny squares and sewed them edge to edge. They were super simple to make. Look for a tutorial to this little poncho in the near future!

-c.

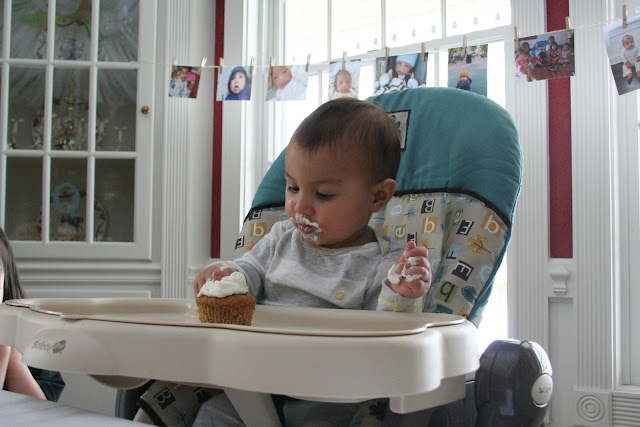
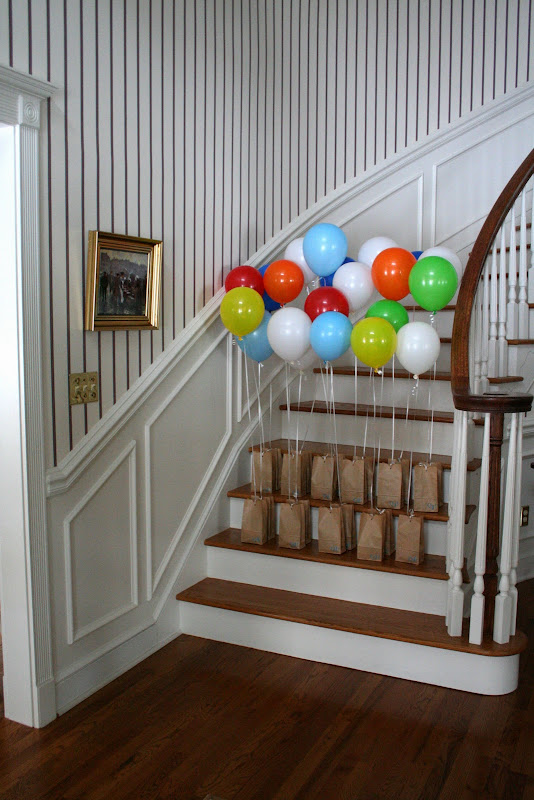
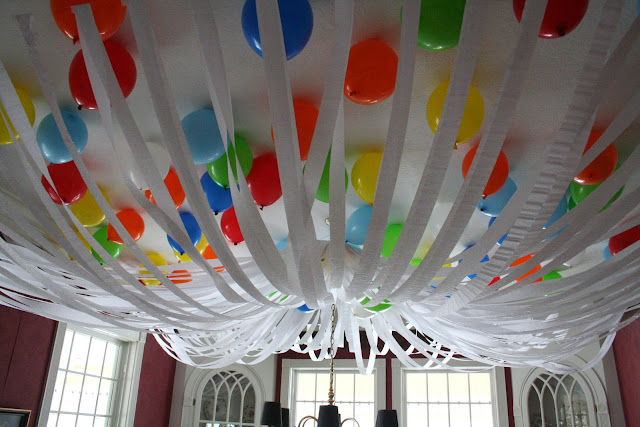
Q’s first birthday party was almost a month ago and I’m finally getting around to posting pictures. Some of you may have read my inspiration post where I was debating on the details of the big day. Well, we went with the “lots of balloons and streamers” idea in the end. It just seemed right. I love me some themed parties with fun details and cute favors for all the kids but since we decided to go all out and invite all our friends and families it seemed like doing a theme might be too much.

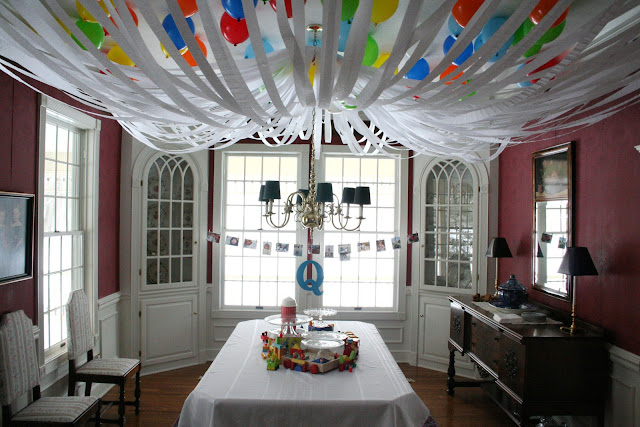
We had the party at Andrew’s parent’s house because our house is teeny tiny. We decided to only decorate the dining room since that was where he would be blowing out his candle.

All in all, I think we hung up more than 1000 ft. of streamers and about 100 balloons. I really thought 100 balloons would cover more area, but I’m really bad at judging such things.

We used a combination of Q’s toys and old toys from Andrew’s childhood as a center piece for the dining room table and as ways to prop up the cake stands to different levels. My sister made all the cupcakes (except for Q’s cupcake, Andrew made that. Maybe he’ll write about it in a future post. At least, I’m hoping he will).

This guy is helping set up the decorations with his handy dandy lifter. This was Andrew’s little set up.

Overall, I deemed it a success!

-c.

On Being, On Creativity

Planning


Image via abc

OK! After much internal debate and discussions with Andrew, I THINK I’ve decided on what to do with this old space called yes, have some. Basically, the plan is to expand.

This blog started with the intention of sharing the things that Andrew and I make, as well as share the knowledge and inspiration we picked up along the way. But recently, I’ve been feeling torn. There are things I want to post about but feel they don’t necessarily fit the mold of what we intended this place to be. I’m sure this is attributed to the fact that in the past, any free time we had was dedicated to making stuff. And now this time is filled with raising our boy. Which is wonderful and something I want to be able to share too. I considered just starting completely separate blogs for non-yes-have-some related stuff. But I’ve finally decided that instead of branching out into separate blogs, yes, have some. will grow to house all things about our lives that we want to share!

So look forward to some changes! My grand plan includes a redesign, a reorganization, and actually some re-posts from my brief flirtation with Tumblr*. Also, more posts on our lives, in general, which means more posts on kid related topics, parenting and other more random things (like how rad Tumblr is, jeez). Awesomeness to ensue!

-c.

* I briefly started two Tumblr blogs to address my needs to post about these other topics. But I plan on moving those posts over to this blog in the near future.

On Creativity

Winter Wedding

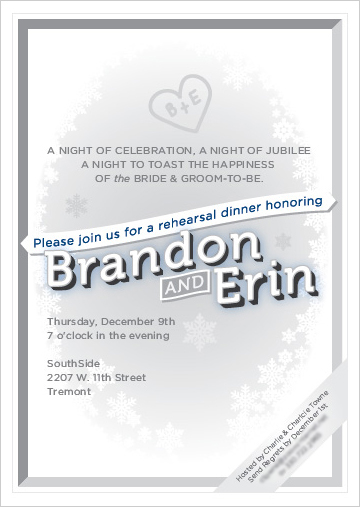
Andrew’s brother got married back in December to his lovely lady friend and we had the honor of working on a couple fun projects for the big day. Well, one wasn’t technically for the big day but rather for the rehearsal dinner. I designed these winter-themed invite for the rehearsal dinner. Winter has so much great imagery, so it was fun to work on.

I had started by doing a whole window with each window frame being frosty, but it ended up just getting to be too much. It looked cool without the type but then I couldn’t get the imagery and type to play nice. So, I did what is usually the solution: I simplified. And it worked nicely.

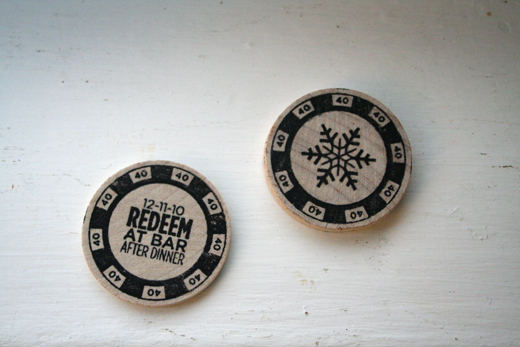
The other project was a collaboration between Andrew and I. Andrew’s brother wanted some sort of token to give to a select number of guests that they could redeem at the bar for a 40oz beer. We created poker chips that followed the winter theme by doing Xylene transfers onto pre-fabricated wooden discs.

It took us a couple tries to get the process down (we had to make 50 of them) but once we got that figured out, it went pretty quickly. Maybe we should think about doing a Xylene transfer tutorial in the future.

-c.


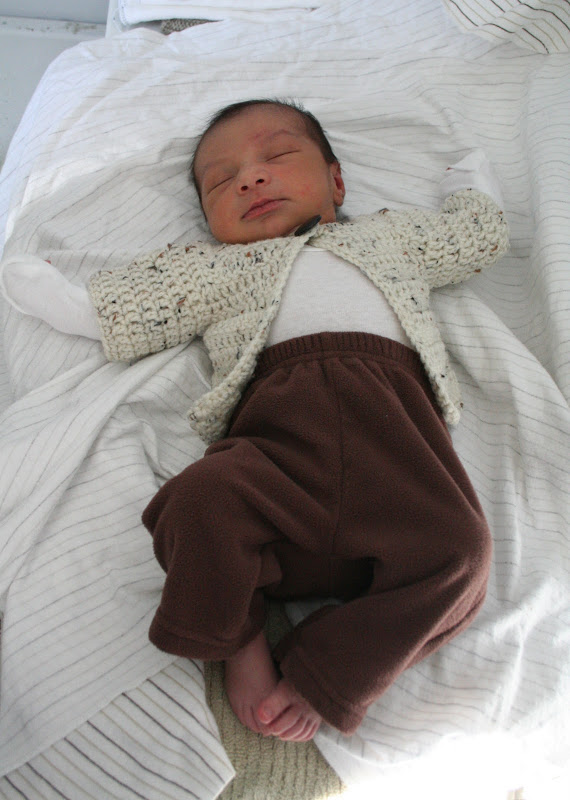
Remember this sweater I made when I was pregnant? Quil wore it on his first outing to his Lolo and Lola’s for his Cousin Layla’s 1st birthday party.

He was so tiny!

-c.


Quil is approaching 8 months-old! I can’t believe how fast these past months have gone. I looked back at the pictures we’ve taken of him and realize there are so many baby projects that we never revisited after Q was born.

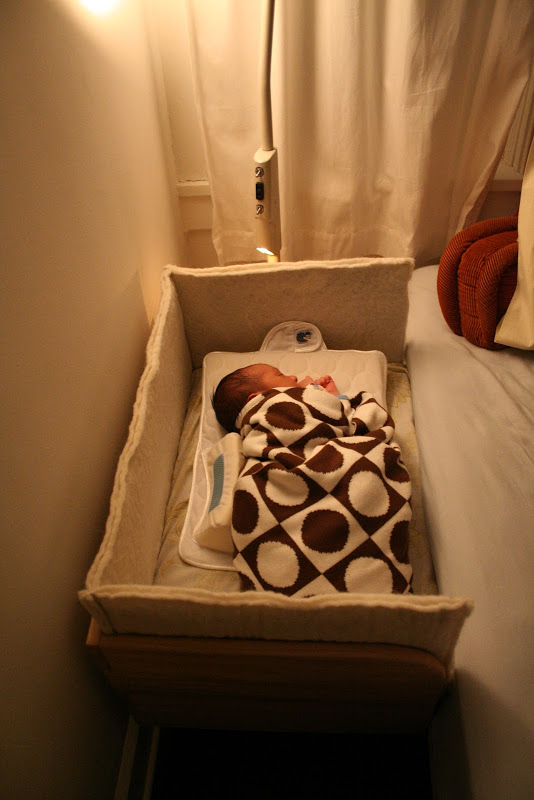
The co-sleeper is still attached to our bed and now that Q is sleeping in his crib (another project we never posted about!) I’ve gone back to using the co-sleeper as my nightstand. He slept in the co-sleeper for about two months before he grew out of it. One thing we learned—the wool side extenders weren’t necessary. They looked nice, but we ended up taking them out. He moved so little at that age and the co-sleeper was so close to the wall, there really wasn’t any possibility of him rolling out.


Here he is being cute! He slept on a Sassy Vented Sleeper Wedge (which I hear now is a no-no!) because he had reflux and having him on a incline helped.

–c.