Maple Tapping 2014: Week 1
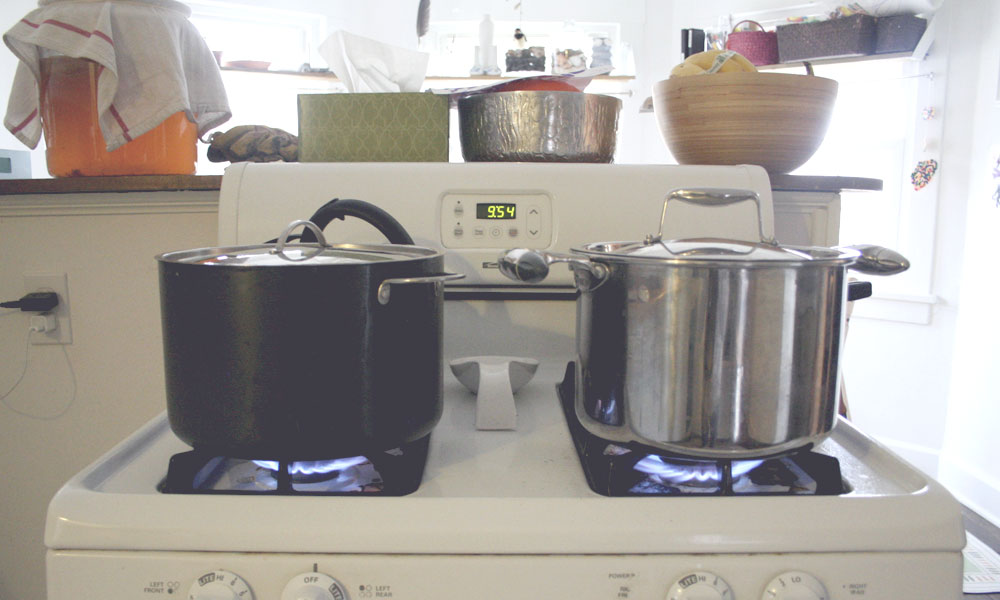
A little recap from week one of maple tapping season 2014! We started tapping our trees on March 9th and between then and the day we boiled (last Sunday, March 16th) we got about 20 gallons of sap. The weather hasn’t been ideal, with only a few days going above freezing, but it was enough for us to get a decent batch. Since we knew we were only going to be able to boil on the weekends, we had to store the sap in the meantime and were a bit thankful for the cold weather.
Last year, we were flying by the seat of our pants and boiling sap as we collected it. We started later in the season, so sap was flowing fast and we could barely keep up with it. So in anticipation, should our buckets overfloweth with sap, and knowing that our schedules would only allow for boiling on the weekend, we had to figure out a way to store a large amount of sap for an extended period of time. Sap is like milk, it will go bad if not stored properly.
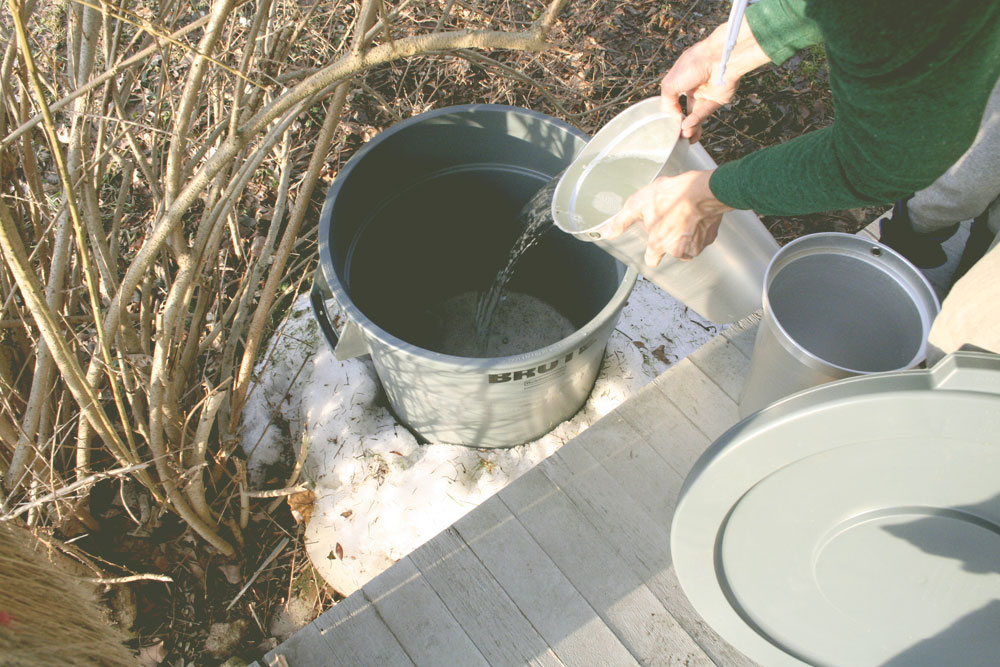
Andrew did some research and we decided on food grade trash can, that we buried in snow on the north side of our property under a big Forsythia bush, in an attempt to keep it as cool as possible until we could boil it. Luckily, this worked – mainly with the help of a random snow storm in the middle of the week. The storm slowed down our sap collecting, but it kept what we had already collected from going bad.
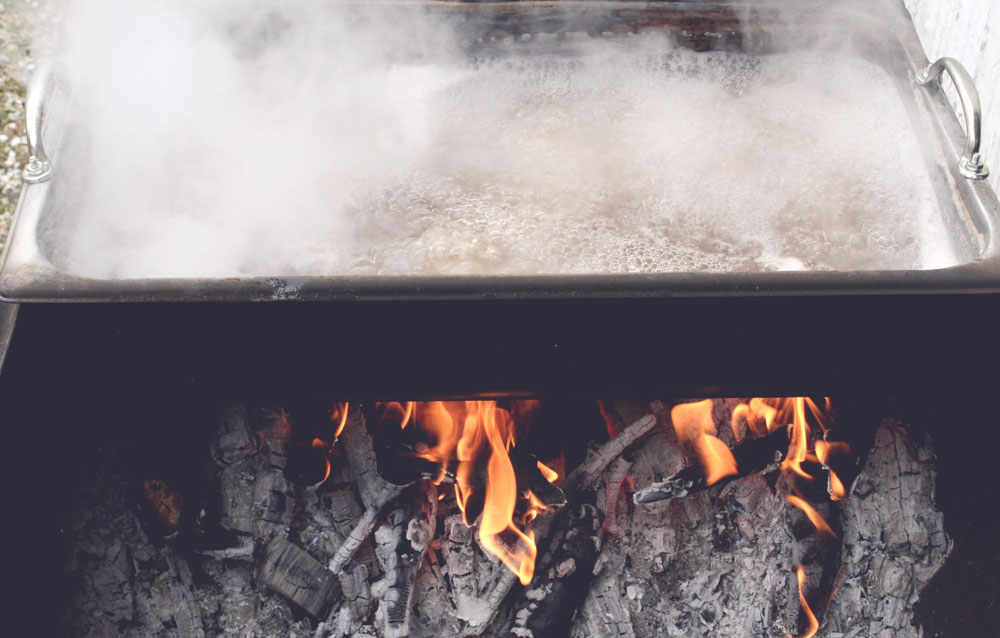
Our biggest upgrade this year was that we designed and built (okay, Andrew did most of the building) a makeshift DIY maple syrup evaporator to speed up the boiling process. And despite a few issues, it worked amazingly well. The benefits of an evaporator over just a pot is that there is more surface area heating up, which results in more water evaporating at a faster rate. Last year it took us 12+ hours to boil 20 gallons of sap, this year with the evaporator it took us about 6 from sap to syrup. Once our system is perfected, we’ll be able to cut that time even more.
The basic construction of our evaporator is a 55-gallon drum and 3 chafing pans, that would be assembled like so: (note only two pans are in use here)
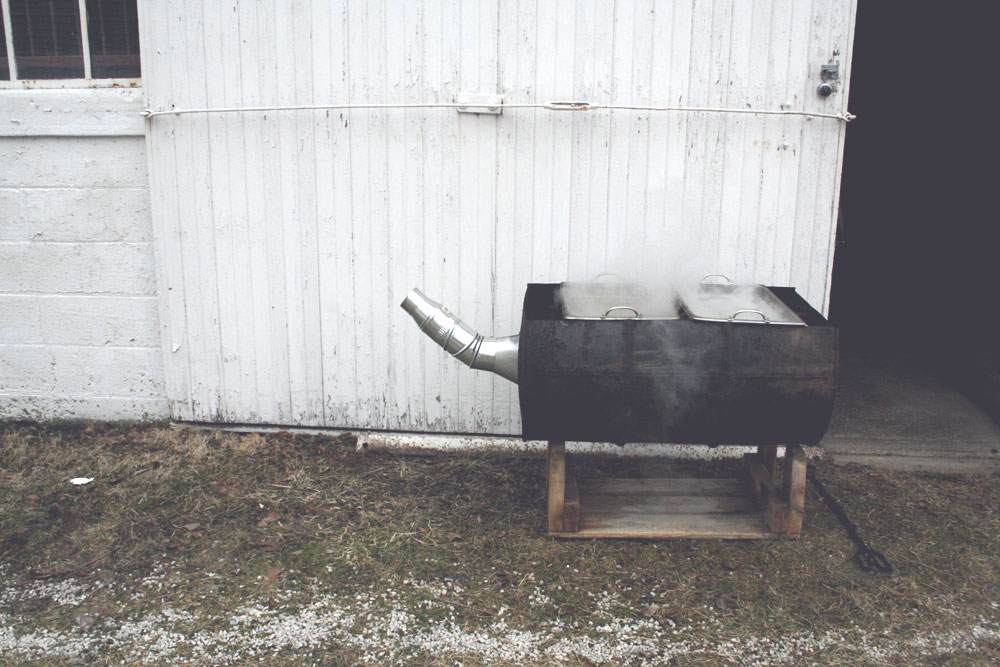
Looks great, right? However, it did not work as we had planned. There was a tiny bit of drama.
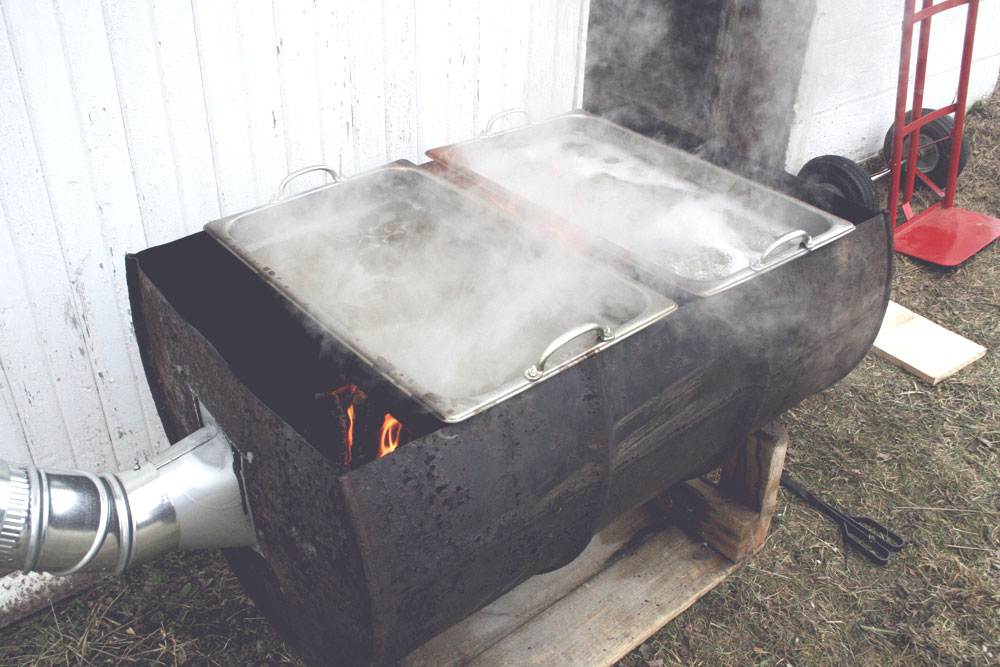
We used an old oil drum that had a little bit of oil residue on one end of the barrel. We figured we’d just let it burn it off before we started boiling the sap. Which is what happened. But not before the leg of the stand that holds the entire contraption caught on fire somehow! Luckily, it was under control and nothing was seriously damaged. Nothing to see here. Carry on. La la la. Andrew has remedied this with metal caps that go over the ends of the stand to avoid another potential disaster.
However this was not our only problem. Andrew had cut a door in one end of the barrel so rather than lifting up pans filled with boiling hot sap, you could use the door to stoke and feed the fire below. Plus, the smoke would conveniently be directed out the chimney. All perfectly planned out in a neat little package. WRONG. We figured, between the chimney, and the door, and the fact that there isn’t an air tight seal where the pans sit on on the barrel there would be enough oxygen flow to keep the fire going, right? No, sir.
Andrew, for the life of him, could not keep the fire going with all three pans in place. One side would inevitably get smothered. So, we ended up using only two pans and keeping the third space open, thus reducing our sap boiling capacity, but allowing enough oxygen to flow through to keep the fire going. You live and you learn.

Andrew has since adapted the evaporator for more airflow by removing the chimney and flashing and by cutting vents in the side of the barrel. We’ll see how that works when we boil our second batch this weekend. Once we have the set up all worked out, we’ll do a proper DIY post on how we made it, but we’re still working out the kinks — including that makeshift stand it’s on. It’s secure, but not our ideal set up.
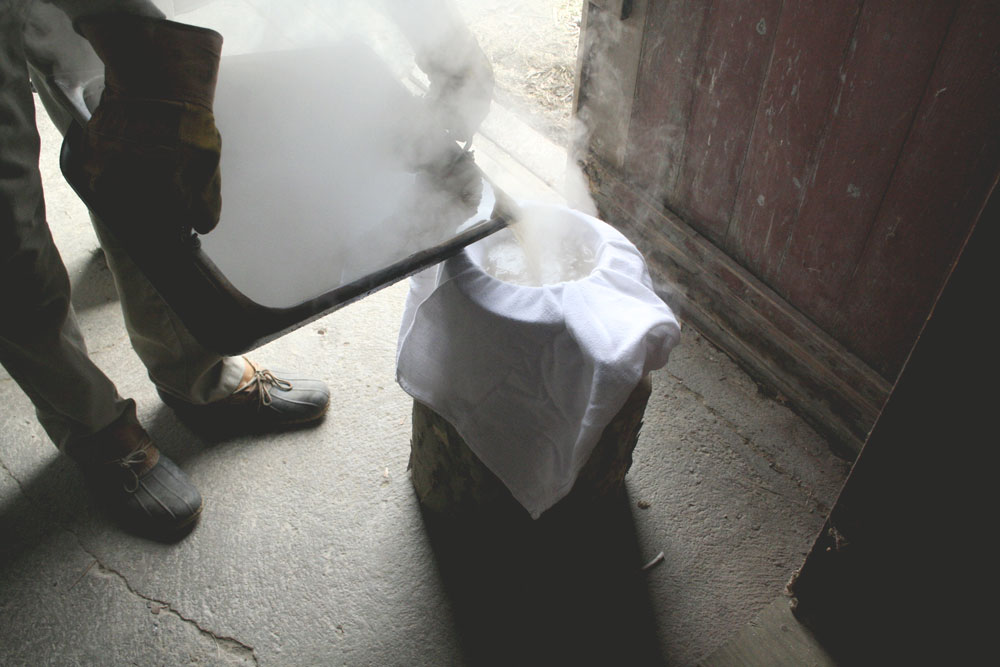
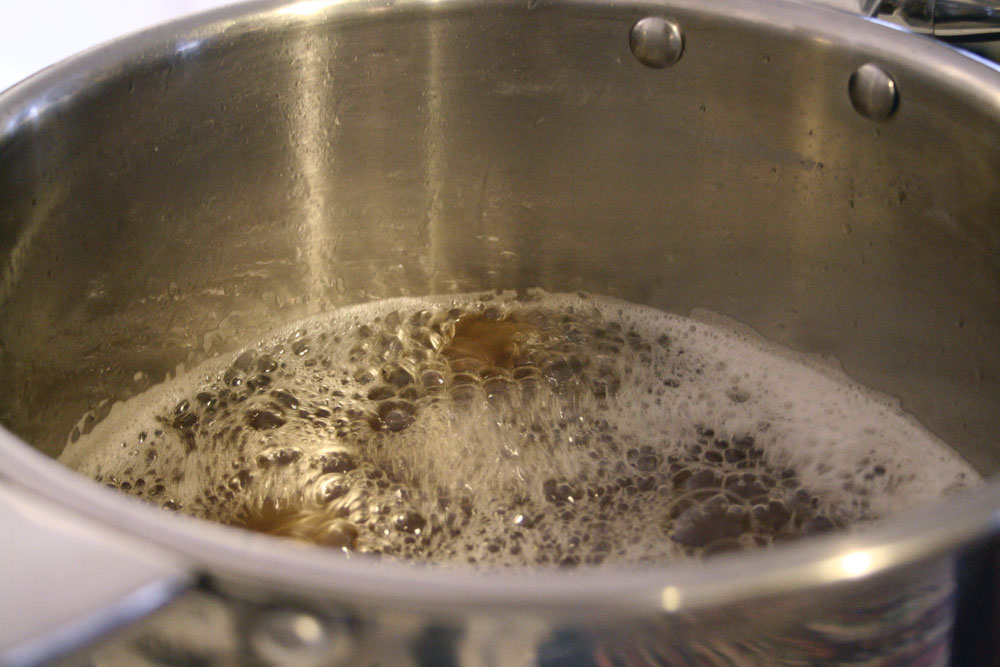
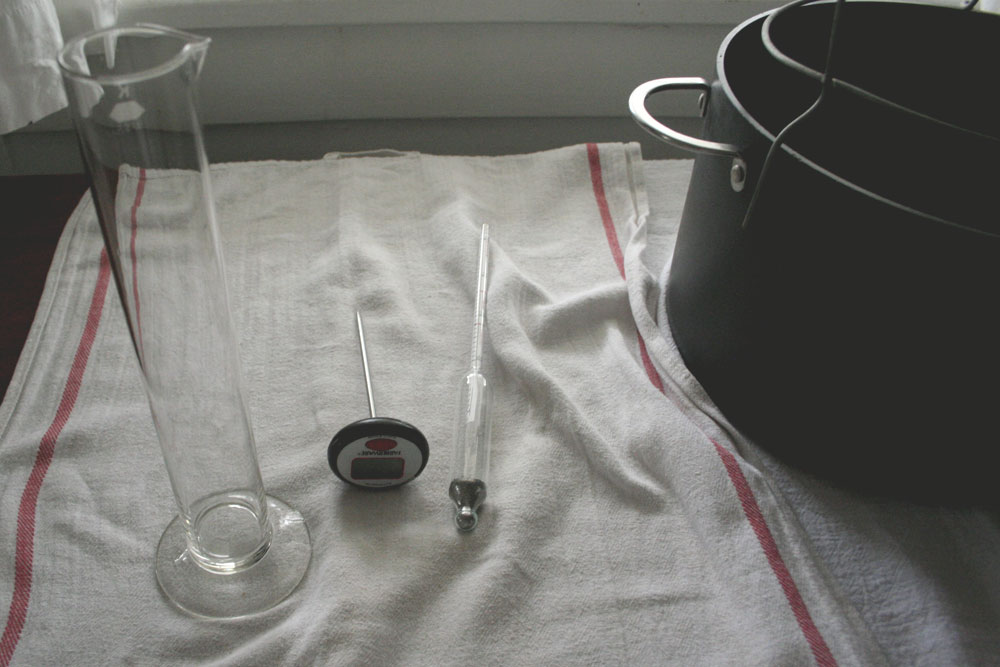
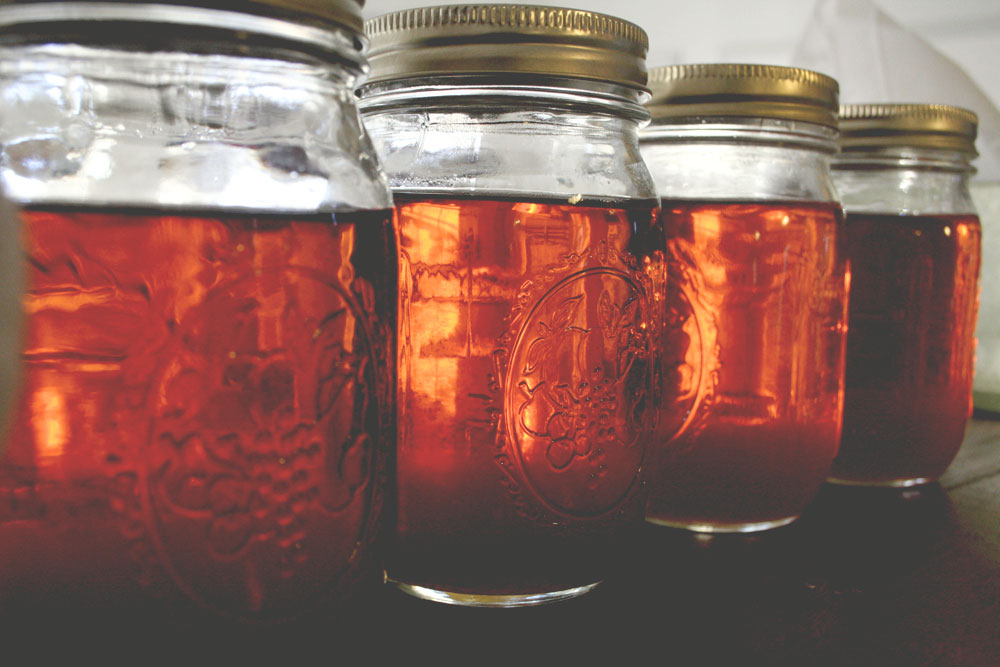
As for the syrup, we’ve still yet to perfect the boiling and filtering. As you can see from our finished jars below, there is quite a bit of sediment at the bottom. I’m not sure if that’s because we boiled it too long, resulting in the sugar crystalizing, or if we just didn’t filter it well enough and there was still niter (or sugar sand) in the syrup. Our syrup from last year was the same way and it stored and tasted perfectly fine, so we’re not too worried about it. Though with our next batch we’ll try to experiment for better results. Also, our thermometer is the worst piece of crap in the world and not suited for this project at all. We’ll have to pick up a new one at some point tomorrow.
I’ll be live tweeting (more like, occasionally posting boring/nerdy maple syrup related tweets) from the homestead again tomorrow, if you’ve got nothing better to do. Like, seriously, nothing better to do on a Saturday than read tweets about maple syrup: Follow me @yes_have_some
Tags: Country Living, Food, Homestead, Maple Tapping
Leave a Reply