Garden 2013 Update – Deer Fencing and Raised Beds
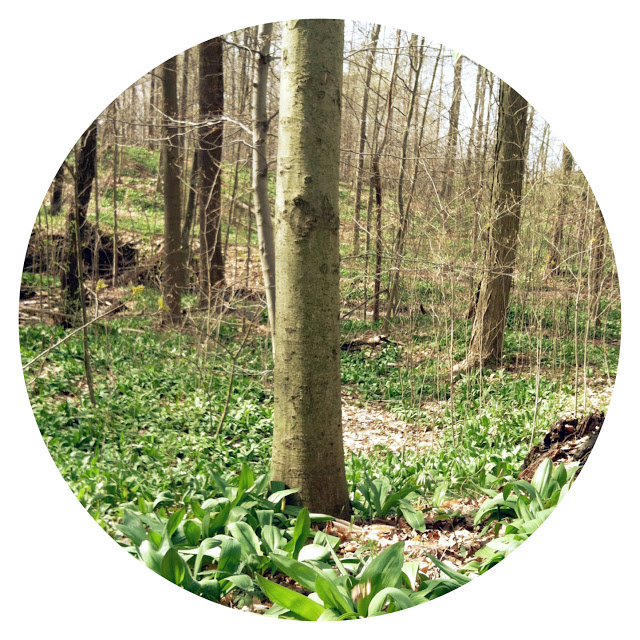
What’s new on the homestead? Harvested some ramps from a friends property (pictured above – ramps as far as the eye can see), garden is underway, pond stocking is in progress, potatoes are sprouted, the reclaimed wood for the compost bin is nail free, a couple more raised beds have been built, and deer fence is almost up. Now, we just need the weather to cooperate! It’s been up and down the past couple weeks and I guess that’s why we have “last frost dates” – but man, am I itching to just get going with the warm weather already!
Today we started putting up the new deer fencing that was my gift to myself last year when I got a bonus at work. Who buys deer fence with their bonus? I do. It’s that important to me. With our past experience, it’s just not worth it to garden in our area if you don’t have either a dog or a deer fence. We don’t want a dog, so we went with the fence. I’m really, really hoping this does the trick because I love having a garden but the stress of the deer almost makes it not worth it.
I wish I had more pictures for you from the past few weeks, but I’m too lazy to upload them right now.
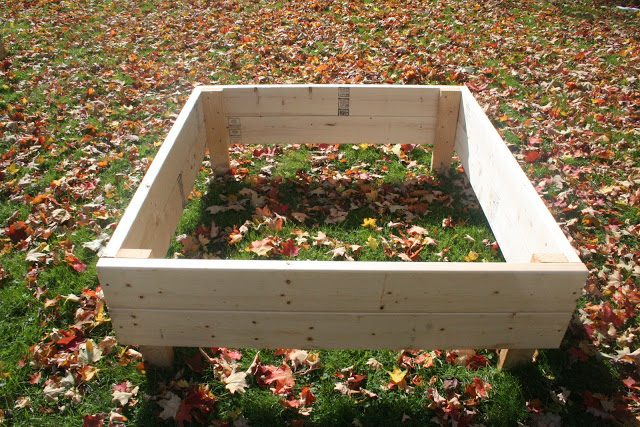
So here is a picture of one of our raised beds before we installed it last fall. You can see the basic construction in this photo. The outside rails are attached to four posts that will go into the ground so the bottom board sits flush on the ground.
After installing them, we put a layer of black weed blocking fabric, followed by a few layers of cardboard, a layer of leaves, a layer of alpaca manure, then another layer of leaves. This then sat for the past six months to kill the weeds and grass and also create the nutrient rich base for a layer of composted soil that went on top last week. If you can do this in the fall, it will save you a lot of work come spring (and summer, since it will save you lots of time weeding.)
Okay, so I know some of you are wondering why we used pine when it’s going to be outside and will eventually rot. Ideally, cedar would be the wood of choice since it’s naturally rot resistant. But Cedar is many dollars. We figured if we can get a few years out of these beds before they rot, it will have been worth the price we paid for the wood. I think down the line, we’re open to trying different things. We just don’t have the money for cedar ones at this point. One bed can run upwards of $200 – which is double what we paid to make ALL our beds.
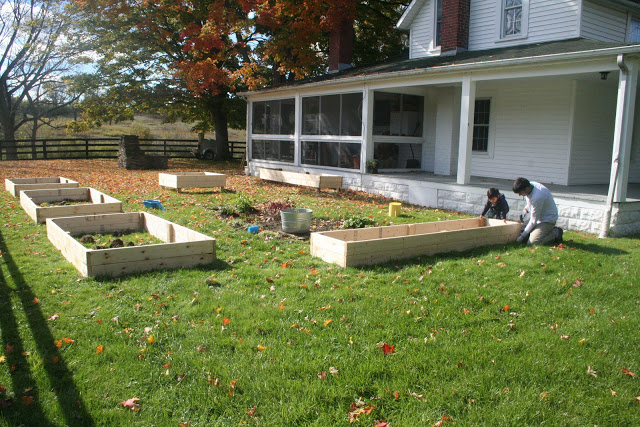
We also didn’t seal the wood. And the reason being, we don’t want any toxic materials touching the soil that will be growing the food we’ll be eating. This is also the reason we didn’t use pressure treated wood, which again is rot resistant but also treated with chemicals. Here is Quil helping Andrew with the beds last fall. And by helping I mean, running around like a maniac. I just got him during a moment of stillness in this shot.
I will post more current photos of our progress soon, I promise!
xo,
c.


Leave a Reply