
Whew! This past month has been a whirlwind. I just wanted to pop in and say “hi!” because I know I’ve been absent here lately. Work has been super busy and, as per usual, I’ve got my plate full of other fun side projects which haven’t left me with any free minutes to just sit and type. My blog RSS reader is up to over 1000 unread items because I haven’t had time to catch up on my regular reads. First world problems, I know.
The intense work days that start early and end late combined with a lack of sleep have finally caught up to me. Ellis is transitioning into going all night without nursing. She has cried for about 20 minutes somewhere around the hours of 2 or 3am for the past few nights. And Quil is in this terrible phase of only wanting to sleep in our bed and he’s an awful bed mate, forever tossing and turning and kicking. It’s been extra hard since Quil and Ellis share a room and we haven’t yet found a balance of them co-existing in that space without one waking the other. I slept horribly last night and when I did sleep I had nightmares of work projects gone awry. Ugh. So, today I felt rundown and just plain exhausted.
So, tonight I’ve finally able to just (sort of) relax and write this post and work on a little crafty project: Wood Acorns for our Totoro-themed party this Saturday! Q turned 3-years-old last weekend but this Saturday we’re celebrating all the February/March birthdays in my family – there are five.
I found some little wood eggs at the local craft store that I stained to look like the acorns from Totoro. They still need a few finishing touches, but I’ll post finished pictures when they are done.

If you’ve never seen My Neighbor Totoro, I highly recommend it. Quil loves it, as do Andrew and I.
xo,
c.

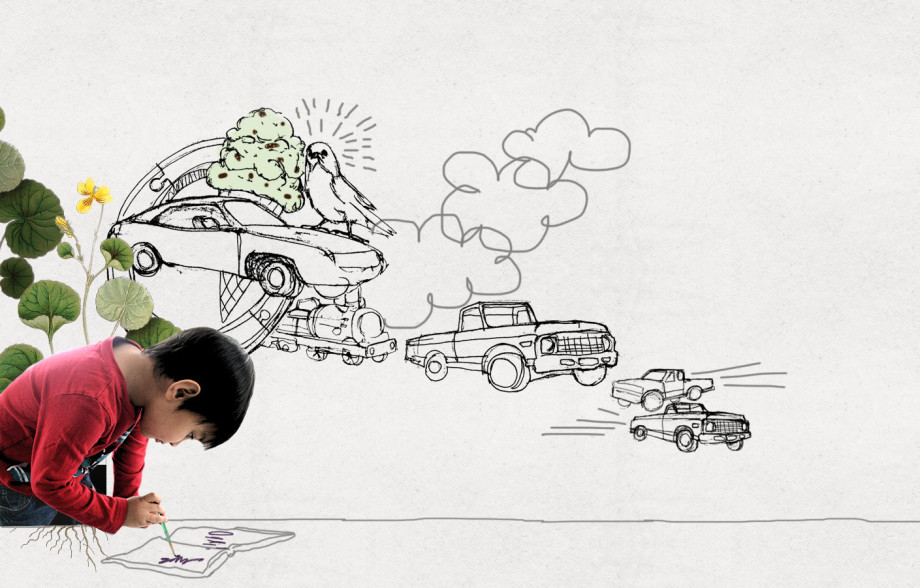
Just wanted to pop in and let you all know that we have a new feature called Q Says Draw where we will be posting drawings that Andrew and I do at the request of Quil. Lately, he’s been doing this a lot, requesting us to draw this or that, and usually it’s of the same thing over and over and over (as you’ll see!) We’ve been trying to document as many of these drawings as we can, though I know there are many that we forgot along the way. Unfortunately, we missed the phase of “Draw a truck with a Christmas tree in the back.” I drew so many of those. Maybe I can still find a few to photograph…
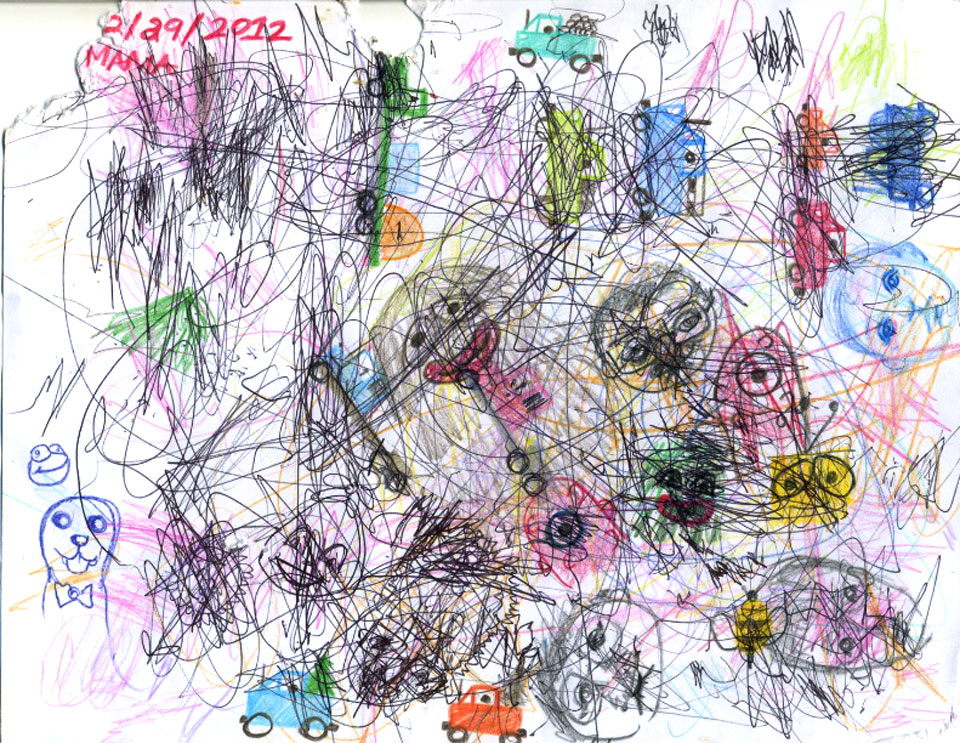
In the meantime, enjoy his current obsession here. Or you can follow the new link the right sidebar. It’s hard to miss. It’s huge.
[Drawing doodle from 2004-ish]
xo,
c.

Since the little ones came along, we’ve really been putting effort into creating family traditions for them to look forward to every year. With Ellis being so young, we decided to start with something fun and simple this year – making fingerprint ornaments for us and the Grandparents.
This idea actually came from an ornament that my younger sister, Flora, made at school when she was little. One of my other sisters found it amongst my parents decorations and thought it be fun to make with our own kids. They turned out super cute!
However, these weren’t as easy as we’d hope. I think it mainly had to do with their age. As the kids get older, I imagine it will get easier but it was actually quite difficult to get fingerprints from a 4 month old! Less so from Q, who is rounding on 3 years pretty soon. But still not quite as easy as I’d hoped. Ellis’ hands just kept grasping my fingers and the ink would get everywhere and smear. Quil would just push super hard on the paper so his fingerprints were just blobs! Plus, both their prints are soooo tiny. It was hard to get a clearly defined print. I also think we didn’t use the best ink pad, so the actual pattern from their fingerprints weren’t really distinct.
Next year, we’ll experiment more to find what ink and paper combo works best. But if you want to give it a try, these are the supplies you’ll need:
- ink pad (washable, non-toxic, child-safe ink) – preferably in a light enough color that you’ll be able to see the lines when you draw on top of the fingerprint. We used a grey.
- multiple sheets of cardstock – a patterned background sheet is optional
- wooden drapery rings – you can get these usually at a craft store like Joann Fabrics or Michaels or Hobby Lobby
- ribbon – thin enough to fit through the eyelets of the drapery rings
- archival ink pens – I used a Micron .05 pen for the black details, and felt tip pens for the holly
- glue
We started off by just doing a bunch of fingerprints of each kid all over the sheets of the cardstock. We figured it would just be easier to center them after the fact, rather than try to get the kids to place their fingers perfectly in the center of a small circle. I used Ellis’ thumb since her fingers are microscopic. And Quil used his index finger.
Be sure that you leave enough space around each fingerprint so that it can be mounted onto the drapery ring. This is why I had to use the patterned paper on Ellis’ portrait. I accidentally had the particular fingerprint I wanted to use too close to one of the others. This resulted in a paper circle not big enough to mount on the drapery ring. To remedy this, I cut out around the fingerprint I wanted to use and, with a mounting square, affixed it to a larger circle cut from the decorative paper. I then mounted that larger circle onto the drapery ring.
After the fingerprints were dry, we chose the best ones and used this book as inspiration for drawing creatures. I chose the snail for Ellis and an owl for Quil. I also did simple portraits of each of the kids with their respective prints.
Cut around your drawing making sure it’s big enough to glue onto the drapery ring. We then wrote the kids’ names on the back with the year, applied glue around the front edge of your circle, then attached it to the drapery ring. Add your ribbon and you’re done! Here are all of ours:


We hope to do this with them every year and eventually have them do the drawings themselves. I probably will look forward to this tradition more than they will!
-c.
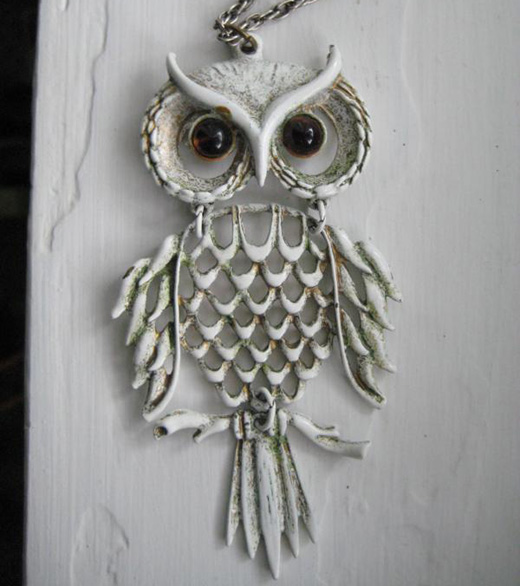
A friend of ours is thinking about getting an owl tattoo and asked if we could mock up how it could possibly look. There are probably 10 million different visual interpretations of owls in the world, ranging from realistic paintings to cartoon-y Tootsie Pop owls to abstract doesn’t-even-resemble-an-owl owls…huh?! Along with just the multitude of different styles, there are different kinds of owls that all have different shapes. Where to even start, right? I happen to have one of those owl necklaces from the 70’s that I got at a consignment shop years ago. Our friend liked this shape, so this is what I based my drawings on.
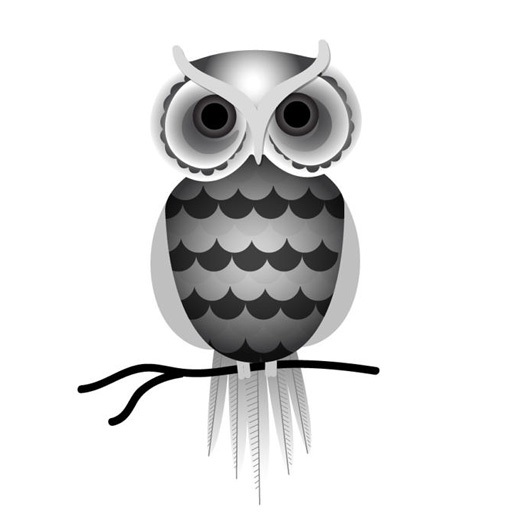
Fun Owl-y awesomeness, no? Obviously, I had to change it up a bit (fatter body, not-so-scraggly wings, etc.) and I really like how it turned out. That branch is a mess, so don’t even look at it. Now, how this will translate into a tattoo is still to be determined. Even if it ends up on the cutting room floor, I had fun making it!
-c.